

GoodNotes makes it quick and easy to organise and categorise your digital planners, notebooks and journals. This tutorial will show you how to create a folder system in GoodNotes in just a few minutes.
Folders in GoodNotes
If you haven’t started using folders in GoodNotes, they are a simple way to rein in and manage all your digital files.
You can drag-and-drop individual files into folders, or select and drag multiple files at a time.
In much the same way as we do on our desktops and laptops, you can structure your documents in folders and sub-folders.
I would recommend using digital covers to help differentiate documents, but in terms of productivity, nothing beats a well-organised filing system.
Using Folders for Workflow
Organising PDFs into folders also frees up and tidies up your home page. I find this helpful for current projects.
I can open a folder and move a work-in-progress file back onto a sparsely-populated home page.
This keeps my current, active documents front of house, front of mind, and quick to open.
I personally find I focus on what I can see:
- If I’m working on my daily planner, I zoom in so I can see a single to-do list or small, specific section of my notes.
- If I’m looking at my GoodNotes home page, I can only see the documents I’m working on now.
When I’ve finished working on a project or notebook, I can move it back into its more permanent folder.
Filing and focus all in one system - the best of both worlds!
How to create Folders in GoodNotes - Step-by-Step
Creating the Folder
- Tap on the + sign and select Folder.
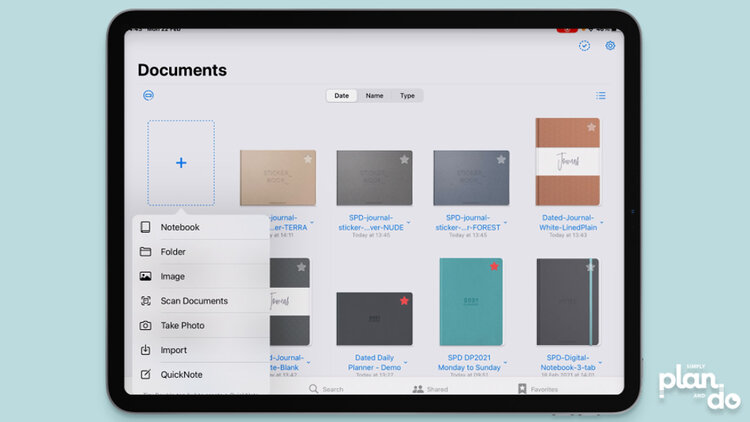
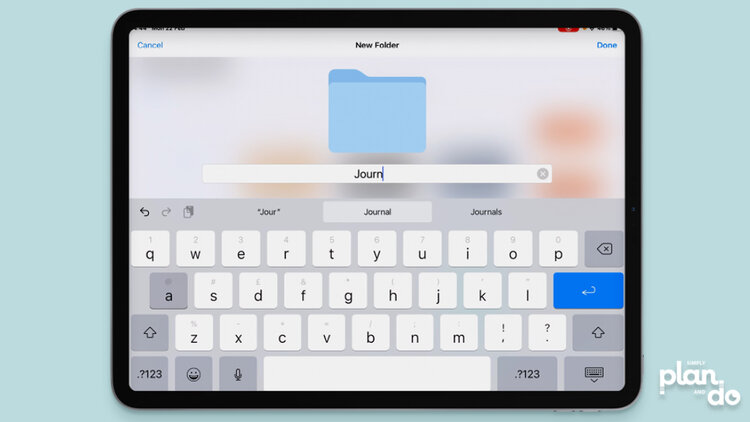
- Give your new folder a category, project name, or document type.
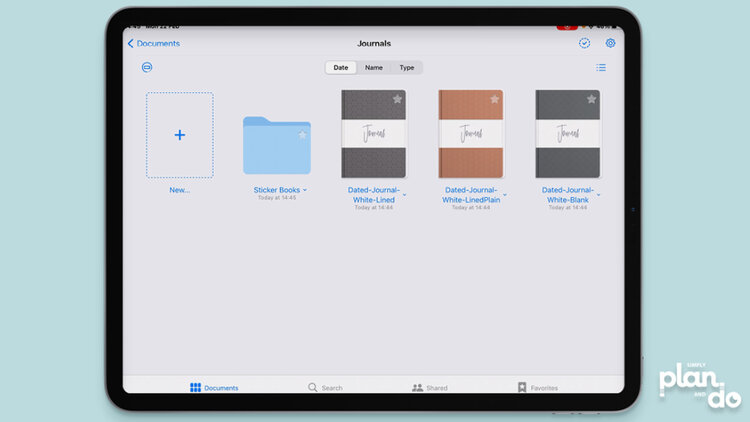
- I’m gathering up digital journals and journal stickers here so will call it - not surprisingly - Journals!
- Hit Return to commit or tap Done in the top-right corner.
Moving individual Files into Folders
- You can move individual files into folders by simply dragging and dropping them.
- Tap & hold the file you want to move until it ‘pops’ up.
- Drag the pdf file over the folder. When the folder changes colour, you can let go.
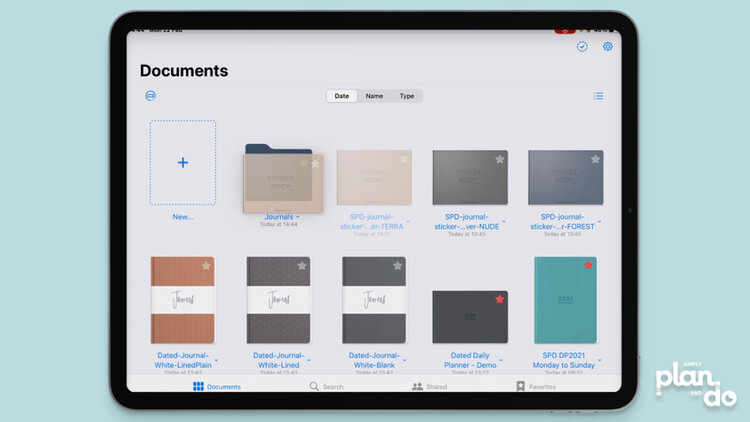
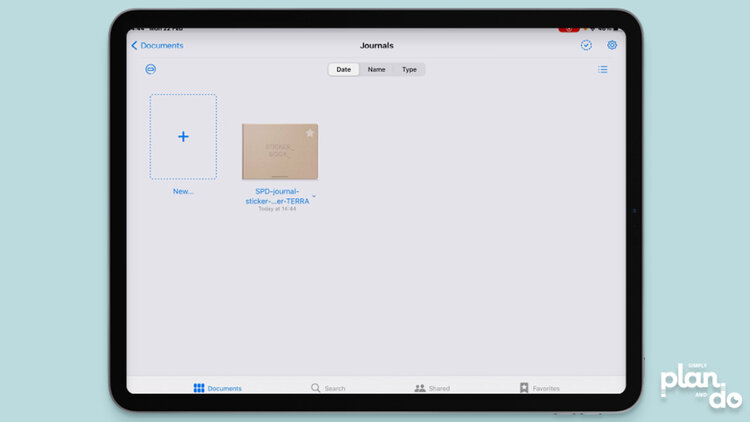
- Tap the folder to open it. Voila! Your file is in its new home.
- Tap the Documents arrow top-left to go back to the home page.
Moving Multiple Files into Folders
- When you’re first setting up your folders, moving multiple files at a time is the way to go.
- To do this, tap the checkmark icon in the top-right corner.
- Tap each file you want to move. A blue checkmark will appear on the files you’ve chosen.
- If you select a file by mistake, just tap again to turn the checkmark off.
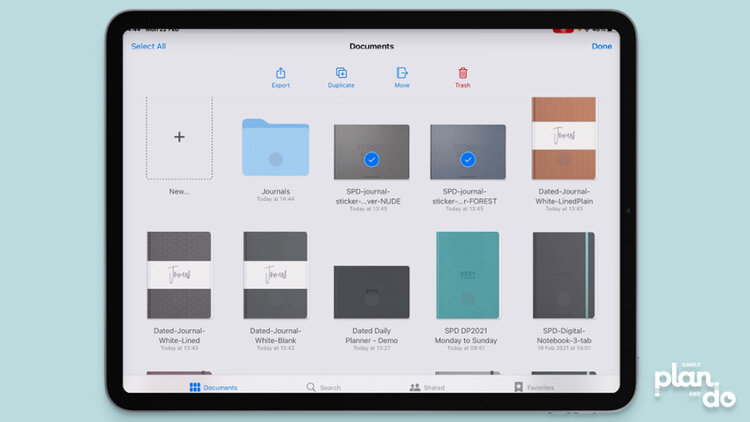
- Tap the Move icon, at the top of the screen.
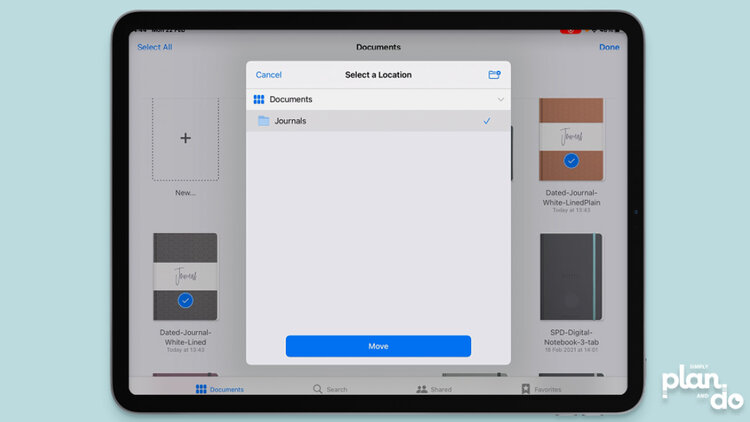
- Select the name of the folder you want to move the files into. A blue checkmark will appear on the right-hand side.
- Tap Move at the bottom of the screen.
- As simple as that!
Creating Sub-Folders
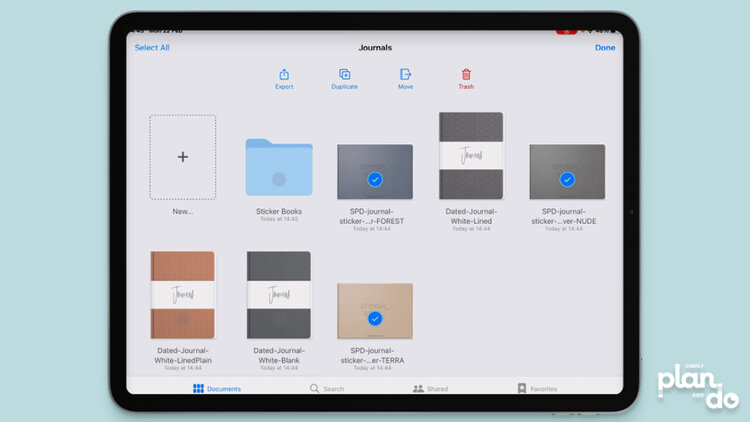
- You just repeat this process for sub-folders, starting the process inside the top-level folder.
- Here, I’m putting all the journal sticker books into a sub-folder inside the Journals folder.
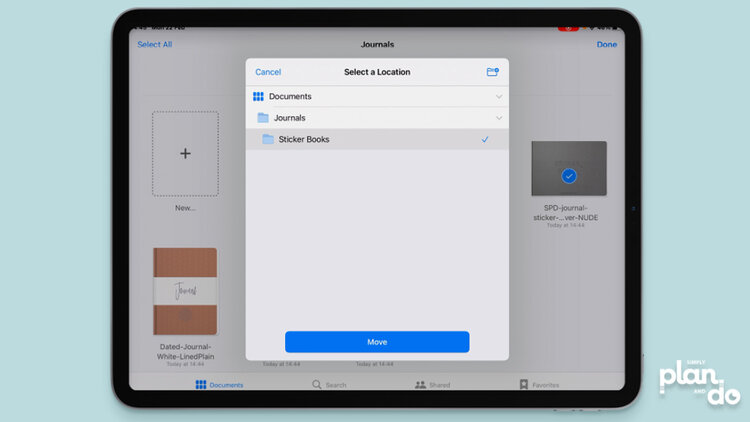
- The one difference is, when you select the folder you want to move files into, you only see the top-level folders at first.
- You need to select the top-level folder first, then GoodNotes will show you any sub-folders available.
- In this example, as soon as I select Journals, the option for Sticker Books appears.
- So, if your sub-folder doesn’t appear on the list, don’t worry! You just need to have the top-level folder selected first.
- Sub-folders are great for archiving old documents you might want to refer to every now and again, but move out of the way on a day-to-day basis to keep your work area organised and manageable.
Using Folders in GoodNotes
As you can see, simple to do and so familiar, as we are all used to working with computer filing systems.
Yet, it is often simple systems that help us the most.
