

If you love undated planners, a 12-Tab Digital Notebook is an easy way to build a planner as you go. The tutorial below will show you how to take a digital notebook and sticker set and create a page structure you can reuse and customise each month.
Using Digital Notebooks as Planners
I love my dated daily digital planner. It has thousands of hyperlinks, so I can whizz around and get to a specific page in just a couple of taps. I also work mostly on daily pages, so having a page-a-day view is perfect for me.
Some people, however, prefer to vary their pages from month to month, only ever need a monthly or weekly level of detail, or simply love to build their own pages.
If you fall into any of these camps, you may enjoy today’s tutorial. It will show you how to create an undated digital planner from a simple 12-Tab Notebook, month and day stickers, and a few pre-made page templates (included inside the notebook).
Undated Digital Planner Structure
In this tutorial, we’ll take an empty 12-tab notebook as our basic, hyperlinked structure and build a simple undated digital planner. It will be based on:
- a main index page labelled with monthly stickers;
- dividers, hyperlinked from the index and down the side, that will become month cover pages;
- a weekly page, with day stickers;
- a checklist page and lined page per month; and
- bookmarking the current weekly page for speedier navigating.
Why Not Use Just Page Templates?
You may think using page templates would be enough to create your own undated planner.
It may be enough if you only use a couple of pages a month or, perhaps you delete or archive old material as you move through the year.
The problem with any self-respecting and well-used notebooks is, it grows apace!
It’s amazing just how quickly you can be looking at tens if not hundreds of pages.
Having a hyperlink system - even something as simple as tabs down the side - can make all the difference when it comes to finding what you’re looking for.
Hyperlinks, after all, are one of the big advantages of using digital over paper.
From Digital Notebook to Undated Planner - Step-by-Step
Copy the Month Stickers
- Open your digital notebook and, if using, your GoodNotes’s sticker book.
- If you have your stickers as individual files, have them ready on your device or cloud storage.
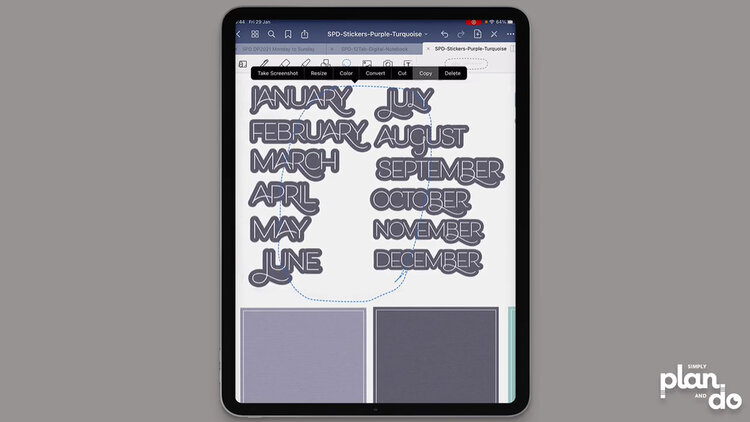
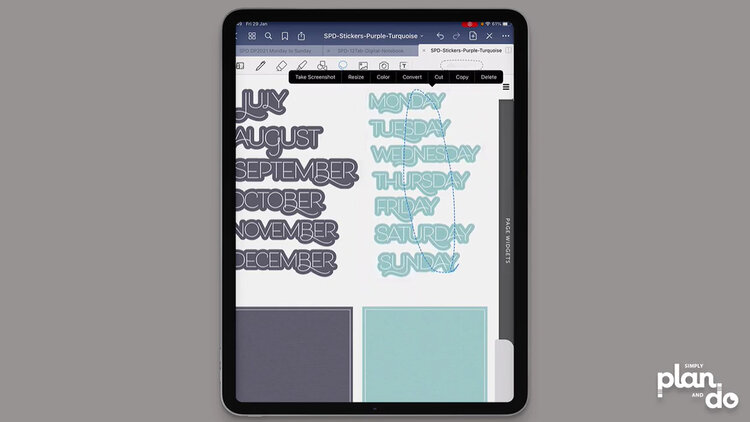
- Use the Lasso tool to marquee your month stickers.
- Tap, hold and copy ready to paste into the notebook.
- If you are using individual stickers, just use a split screen and drag them across.
Adding Month Stickers to the Notebook
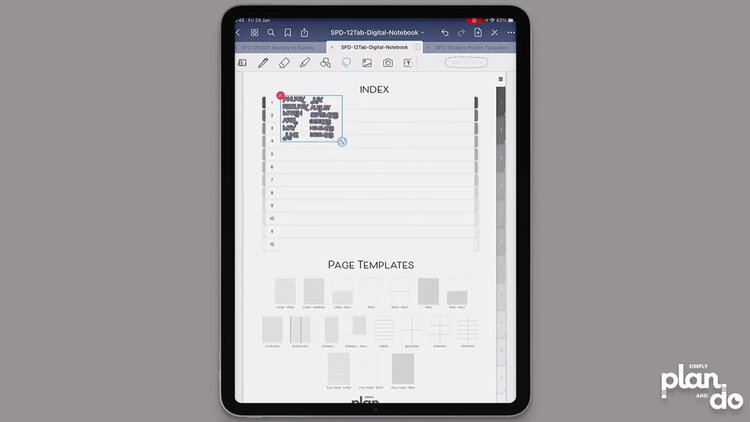
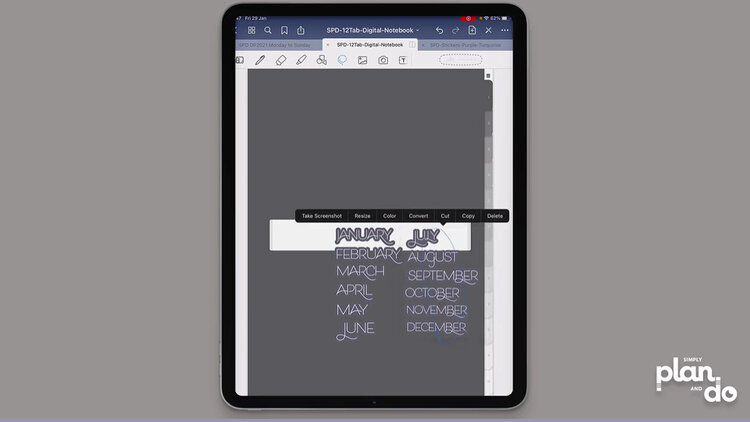
- With your notebook open, tap and hold to paste the month stickers onto the page.
- While they are still selected, you can resize and drag January up into position.
- If you are using individual stickers and have just dragged them across from your cloud or device storage, marquee them all at once and tap to copy. This will add them to your paste board and speed things up later when we add the month stickers to the divider pages.
Move Month Stickers into Position
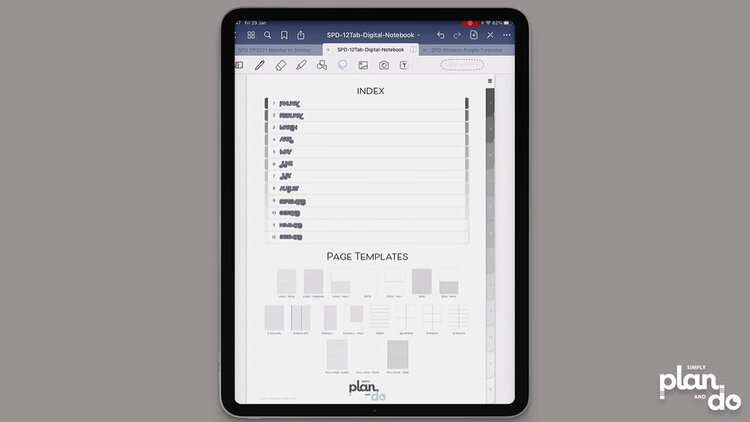
- Tap outside the paste area to deselect.
- Now, simply Lasso each month and drag into position, one for each hyperlinked box on the index page.
Using Hyperlinks in Edit Mode
- You don’t need to come in and out of edit mode each time you want to use a hyperlink.
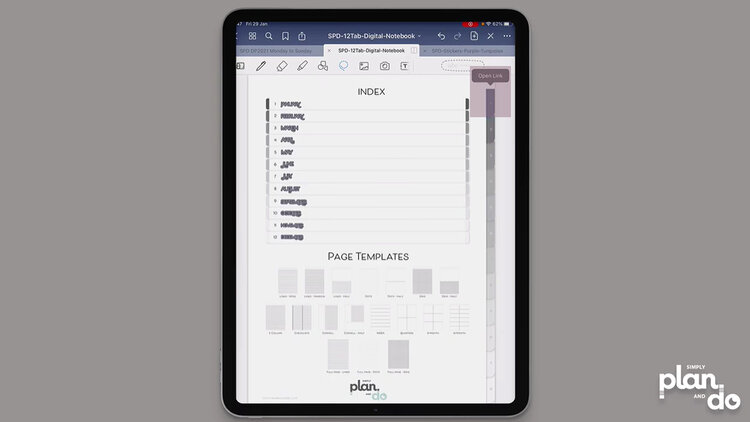
- To jump to Tab 1 - which will become January - just tap and hold Tab 1 for a second to see the Open Link option appear.
- Tap open link to take you to the divider 1.
Adding Month Stickers to the Divider Pages
- As you’ve just copied the month stickers and they are still on your paste board, just tap and hold to select paste.
- Move January into position, and resize if necessary.
- Lasso the months you don’t need to keep. Tap and hold to select delete.
- Repeat for each month. Tap and hold the next tab on the left to get the Open Link option; tap and hold to paste the month stickers onto the divider page; drag the appropriate month into position; and finally delete the ones you don’t need.
Creating a Week Planner Page
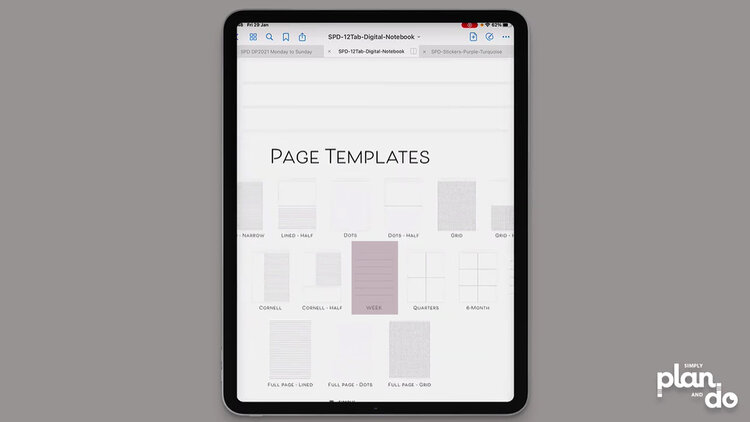
- Tap the hamburger menu, top right, to return to the page template index.
- Tap Week to jump to the blank week template page.
Duplicate the Week Page
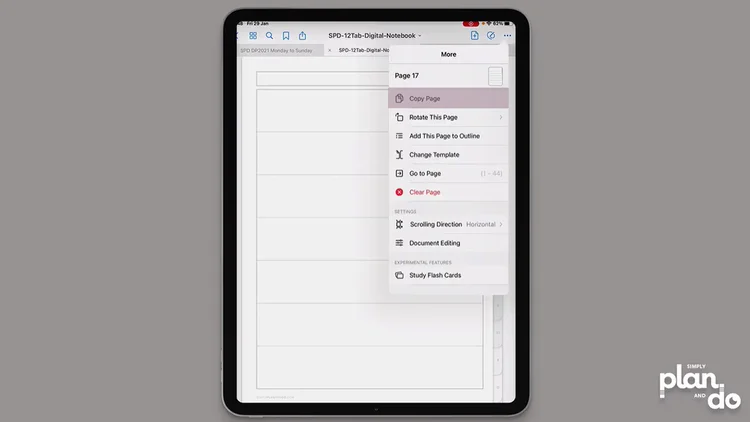
- To keep the page template intact for next time, you’ll need to make a duplicate.
- Tap the three circles, top right and choose Copy Page.
Insert a Week Page behind the January Cover Page
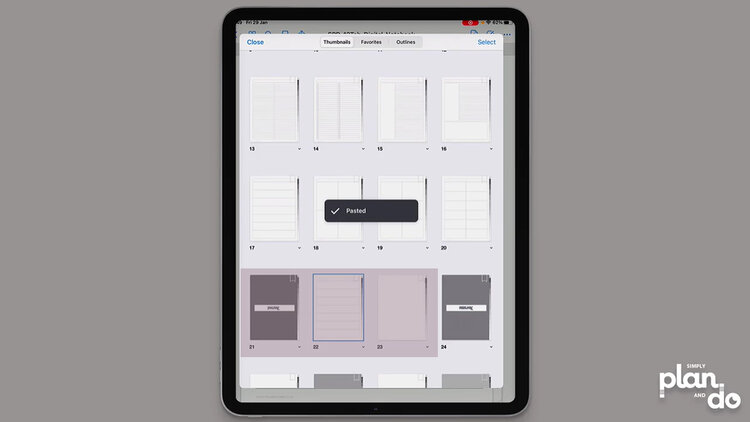
- Tap the thumbnail icon (four squares), top left, to open the thumbnail view.
- Scroll down to find the January Cover Page (the thumbnail for the Section 1 Divider).
- Don’t tap on the thumbnail, as this will jump you straight to the page and you’ll have to go back to the thumbnail icon!
- Tap the caret icon, bottom right underneath the thumbnail, and choose Add Page After.
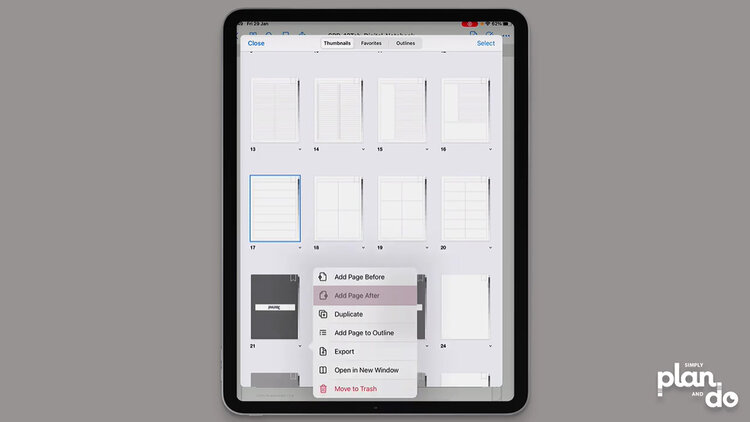
- You will see you have successfully pasted the weekly page behind the January Cover page.
- You will now need to edit that page and add day stickers.
- Tap the new page - outlined in blue - to jump to your new January week page.
Adding Day Stickers to the Week Page
- Go back to your Sticker Book (or individual PNG files) and select the day stickers.
- If you are using a GoodNotes Sticker Book, just use the Lasso tool to marquee them all at once.
- If you are using individual PNGs, drag them from your files, as before.
- Go back to your open notebook. You should be looking at the new week page you pasted in January.
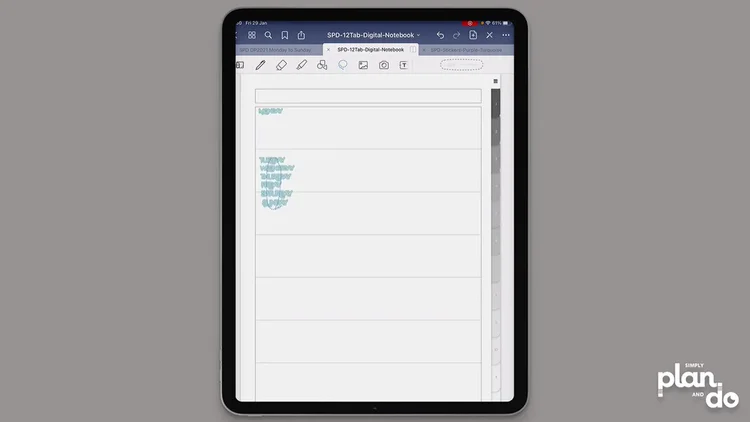
- Tap and hold, then select Paste to copy the day stickers onto the page.
- While they are still selected, resize and move Monday into position. Tap outside the selection to deselect.
- Use the Lasso tool to select individual days and move them into position.
Build Your Month Structure
- Repeat the process of adding page templates behind the January Cover Page to build your section.
- In the video, I’ve added a checklist page and half-lined page after the weekly page.
- You simply go back to the index page, click on the page template you want, hit the three dots top right to copy the page, tap the thumbnail icon to view your current pages, scroll to January and use the caret icon to add a page after.
Using Bookmarks for Extra Navigation
- At this stage, your notebook is small. Hopefully, this won’t last as you will be using it all the time!
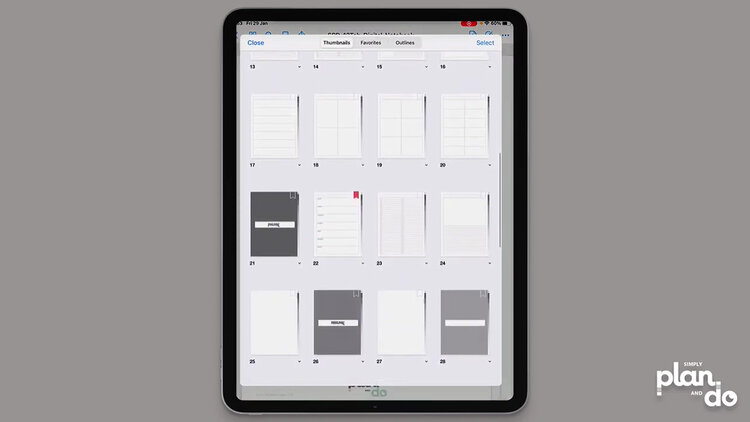
- When you are on the current week’s page, tap the Bookmark icon, top left next to search. You will see a little red flag appear in the top-right corner of the page.
- When you move to a new week, simply click the bookmark icon to switch off the current bookmark and add a new bookmark to the new week.
- The little red bookmarks are really easy to spot when you are whizzing down the thumbnails and are a simple way to add another level of navigation to your planner.
Transforming a Digital Notebook into an Undated Digital Planner
As you can see, there is a lot of scope here for creating a really bespoke planner.
Undated planners don’t have the level of navigation a dated planner offers. I can jump to specific pages in my planner in a tap or two.
But this simple structure of hyperlinked tabs and bookmarks, will help you find what you’re looking for without too much page swiping.
I would suggest you don’t get tempted to build the entire planner in one go.
If you create just a month or two to start with, you can learn a lot about what works and what you need by using the planner. That way, when you create new months, you can tweak your design and continue to improve the planner’s effectiveness.
