

Creating a colour-coded key for digital planner using stickers is a great way to track projects and, at a glance, know exactly what your focus is for a particular day.
This tutorial will show you how to make a simple, colourful, reusable key for your planner in GoodNotes.
Creating a Digital Sticker Key in GoodNotes
It couldn’t be simpler. Choose a sticker style you have available in multiple colours, grab as many as you need, and add your categories.
I then like to ripple that though my planner layout. So, for example, red on my key represents working on this blog. If I am working on anything blog related, I use red stickers, red to do lists, red checklists, etc.
It can also ripple through to covers, for example.
I use my Day Pages probably more than anything else. Having a colour scheme for different projects or areas of my life means, I can glance as my planner and see immediately what my focus is for that day.
For someone who can get distracted easily, or looks ahead too much, this is really useful!
Making a Reusable Key
Once you’ve created a key, you can copy and paste it on any page you want. Copy-and-paste - one of the many benefits of digital planning.
I usually copy, delete, and then paste it on a new day. That keeps my planner file size low. I don’t need a copy of the key on pages in the past and although small, one copy on all 365 pages would soon mount up.
I also make a ‘spare’ copy of it in my ‘Favourite Stickers’ section. That way, if I goof up and manage to delete without copying, I’ve got another one!
Digital Sticker Key - Step-by-Step
Adding a Key to an Existing Page
- One of the best things about digital planners is the ability to zoom in. That means you can keep the key nice and small, not impacting on precious space for notes and planning.
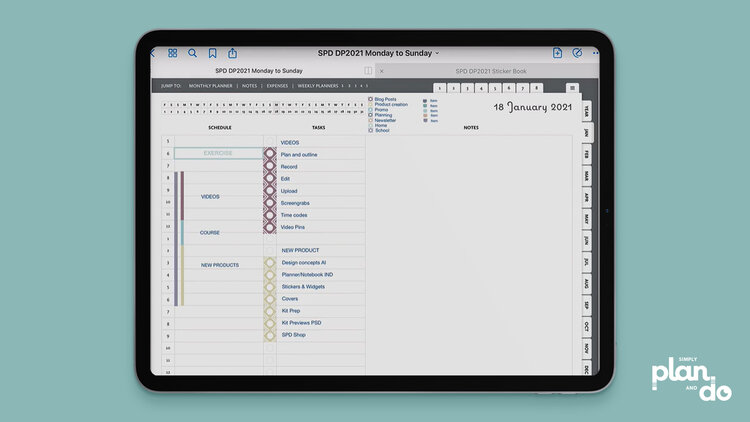
- On my 2021 Digital Planner, I place it up next to the ‘Jump To’ menu, at the top of the page.
- I have 7 categories and there are 8 colours in the sticker pack. It would be easy to move it up slightly and squeeze in another category!
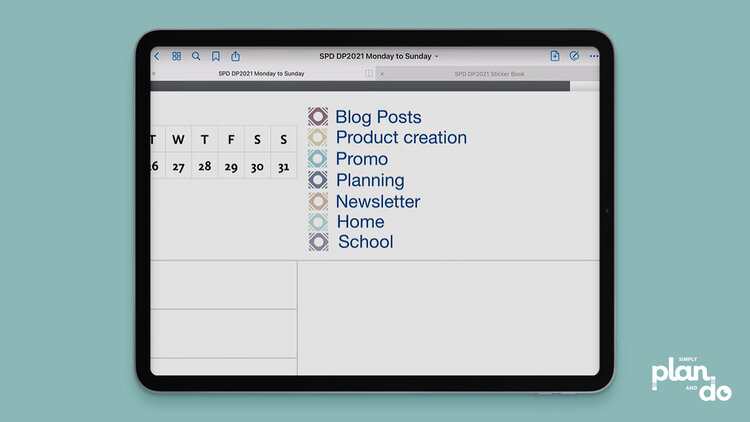
Selecting Stickers for your Key
- You’ll want to look for stickers you have available in multiple colours.
- Choose something small - flags or small shapes - to keep your finished key nice and compact. In the video, I’m using tiny flags.
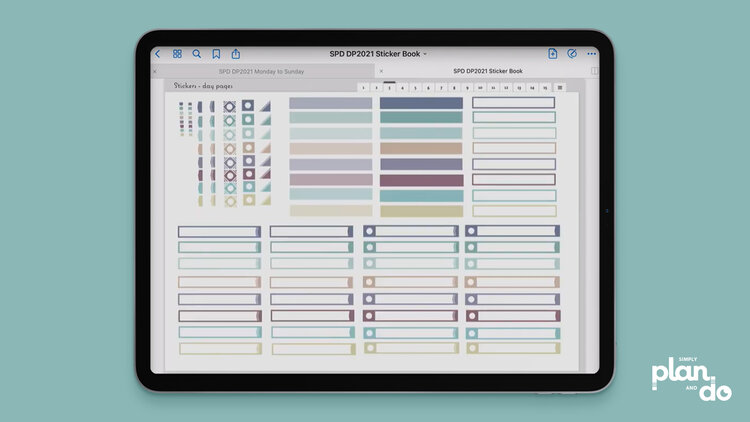
Keep Favourite and Regularly-used Stickers Easily Accessible
- Consider creating a new section, or adding pages to the end of your planner, for your favourite and regularly-used stickers, widgets, to-do lists - and now, of course, keys!
- I’ve used Section 1 in my Digital Planner for this. I also pop a copy of the key in here, just in case I manage to delete it!
Creating the Key
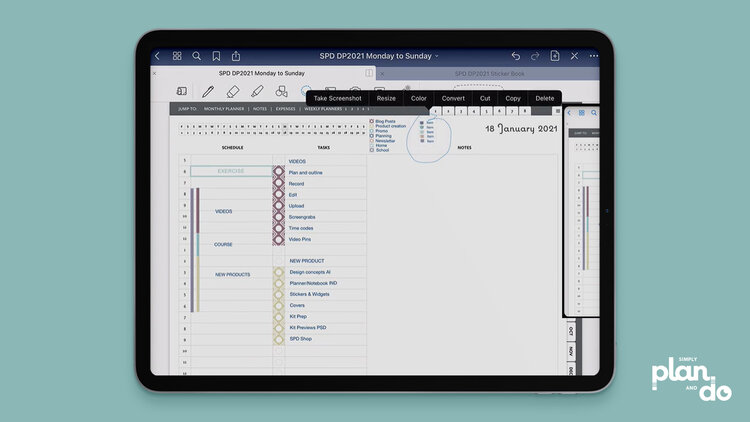
- Once you’ve identified the stickers you want to use, Lasso them and then tap and hold to Copy.
- Paste the stickers on a new page and line them up in a column.
- Either type or write the labels next to each colour.
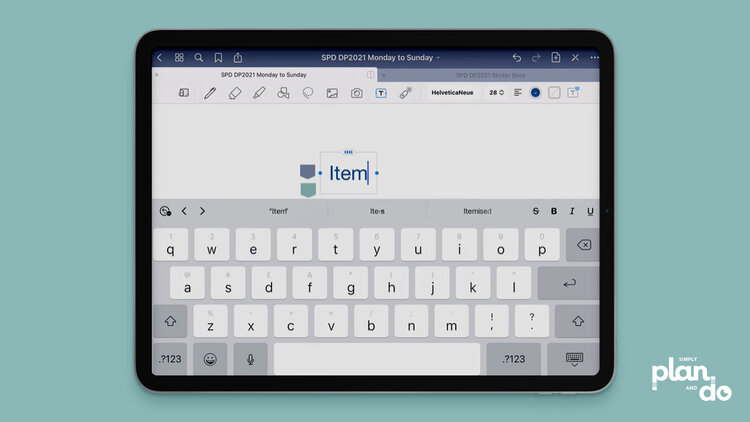
Fitting the Key on your Planner Page
- Once you’re happy with your labels, Lasso all the stickers and text boxes, and drag them into position.
- If you need to resize, you can tap and hold inside the marching ants to select Resize. Use the handles to shrink the key and fit it into a nice quiet corner of your page.
Using your Key to help you Plan
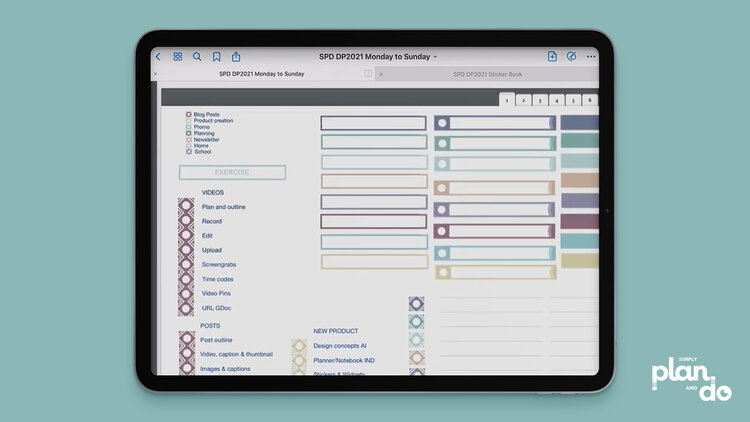
- Now you have your key in place, you can select overlays, arrows, checkboxes, highlighters, etc, to give your planning pages an at-a-glance focus.
- Even without zooming in on the detail, I can tell immediately I look at this page that the morning will be spent making videos for this blog, I’m watching a lesson on a course I’m taking while I eat my lunch, and finally, I’ll spend the afternoon working on new product ideas.
Using Digital Stickers as a Key for Digital Planning
Planning is a very personal thing. I’ve tried many methods and techniques over the years and have ultimately created something that works for me.
If you like digital planning, like a relatively clean and light planner, but love the idea of using stickers to help you plan, why not try the colour-coded key technique to see if it helps you plan and get focus on what you want to achieve?
