

Have you ever placed stickers on top of each other in GoodNotes only for one to disappear! It is easy to change the order of stickers. This tutorial will show you how change the layering of stickers on your page.
Useful Ways to Layer Stickers
Being able to layer or overlap stickers on a digital planner or notebook is extremely useful. For example:
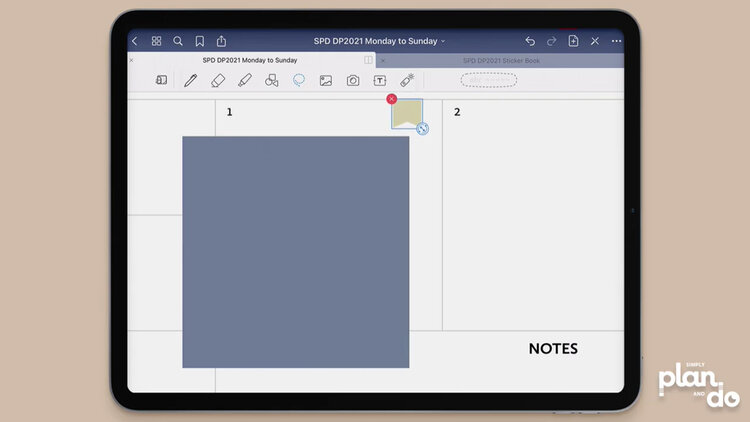
- In this tutorial, I’m layering a flag on top of a solid colour area.
- Being able to overlap stickers connects items or ideas.
- Stacking stickers is great when you have limited space on your page.
- If you have writing on a page and want to add a coloured or label background.
- If you want to annotate text or typing with sticker overlays or symbols, those stickers need to be on top of the text.
How Layering Works in GoodNotes
When you add new stickers in GoodNotes, they are added in layers. The last sticker you added sits on the topmost layer.
This is fine when stickers don’t need to overlap. You can’t tell which sticker is on which layer, as they all appear to be lying flat and separately on your page.
If you want to stack stickers, however, you’ll find smaller stickers become partially hidden behind others or they simply disappear, as the sticker you added on top is much bigger.
When this happens, you need to change the order of the layers.
Stickers you can’t see anymore needs to be ‘repasted’ onto the page. By doing this, you are making a pasted sticker the new top layer.
Reordering Stickers on the Page - Step-by-Step
Adding Stickers to the Page
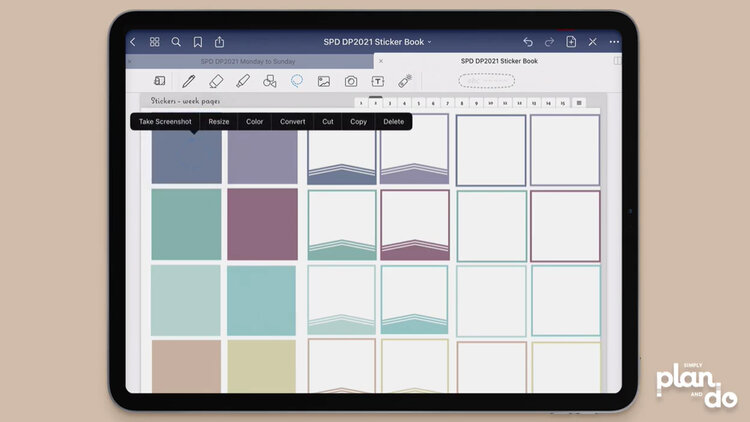
- Have your digital planner and sticker book open.
- With the Lasso tool, marquee select your sticker. Tap and hold, and choose Copy.
- If you are using individual sticker files, have your file manage or cloud storage open in split screen so you can drag your stickers onto the page.
Place Overlapping Stickers
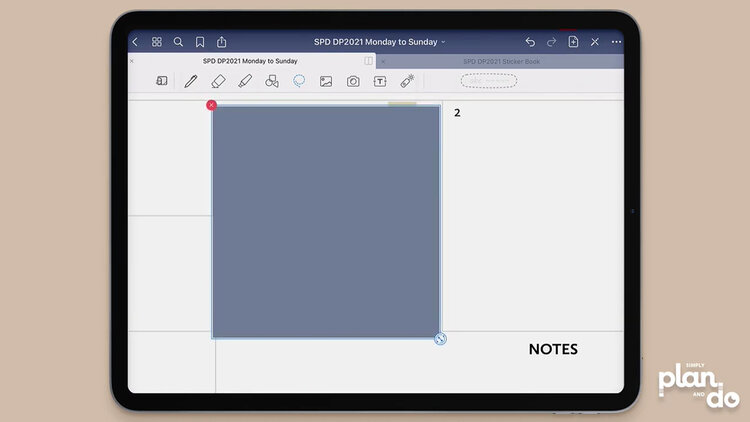
- Change views to your digital planner or notebook.
- Tap and hold, and select Paste.
- Resize the sticker ready to use.
- In the example, you can see the new sticker completely covers the original flag.
Bringing the Hidden Stickers Forward
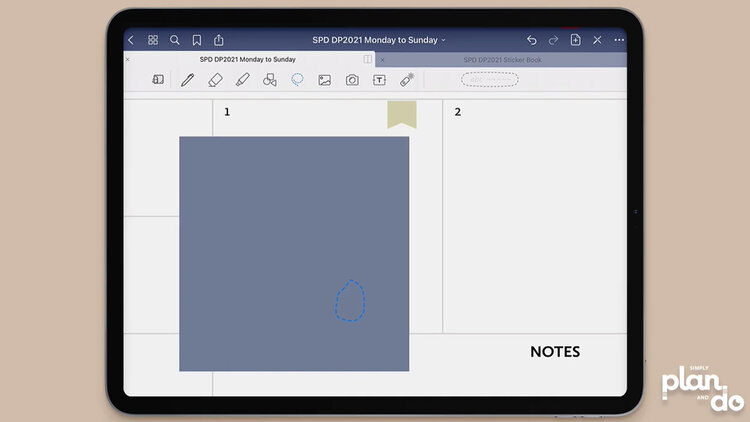
- Move the topmost sticker aside so you can see what’s hidden behind.
- In the example, I have a yellow flag already on this box. I want this to lie on top of the solid rectangle.
Reordering Sticker Layers
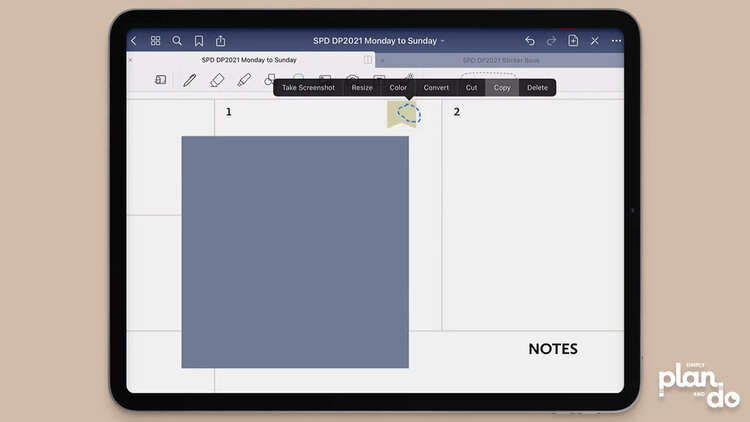
- Using the Lasso tool, marquee the sticker you want to bring to the front.
- Tap and hold inside the marquee, and select Copy.
- Tap and hold, and select Delete.
- Tap and hold, and select Paste.
- Reposition, if necessary.
Moving Stickers into Place
- Everything will appear to be the same!
- If stickers are not overlapping in any way, GoodNotes gives the impression that they are all lying separately on the page. You can’t see the effects of layering until you start to overlap things.
All is Revealed
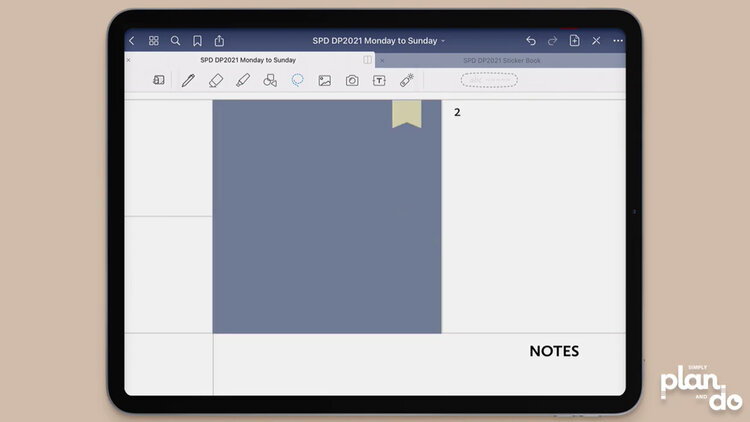
- Lasso the other sticker and move it back into position.
- You can now see the effect of layering, as it will sit behind the sticker you just pasted onto the topmost layer.
Layering Multiple Stickers
If you have multiple stickers you want to bring forward, you can Lasso them all at the same time. This pastes them onto separate layers, but these layers are still new and so will sit on top of anything else.
Once you have the hang of this, it is easy to visualise layers on the page, even though you can’t see them, and move stickers to where you need them.
You are, in effect, creating new stickers and deleting old ones. The benefit is, you don’t need to open a sticker book or your file manager. The sticker is already on the page and you are ‘reusing’ it.
