

Have you ever tried to re-order the stickers on your digital journal or planner page in Noteshelf, only for them to disappear behind something else?
It’s actually easy to reorder layers, once you know Noteshelf sends thing all the way to the back or brings them all the way to the front.
This tutorial will show you how to easily layer frames and stickers over photos or other stickers, in the order you want them rather than the order you added them to the page.
Layering Frames & Stickers
When you add a new sticker, frame, photo or image to a Noteshelf page, it lands on the top ‘layer’:
- You can’t see the layer order in the app, but you can tell by overlapping objects whether something is on top of, or underneath something else.
- The first item you add to a page is on the bottom layer and the last thing on the top-most layer - assuming you haven’t decided to move things forward or back.
- You can’t move things up and down one layer at a time. You either send it to the very back or bring it to the very front.
- You can, however, move more than one thing at a time, which helps enormously with keeping finished areas of your layouts intact.
Once you’ve got the hang of layers, reordering things becomes incredibly easy.
Laying Frames & Stickers on Photos - Step-by-Step
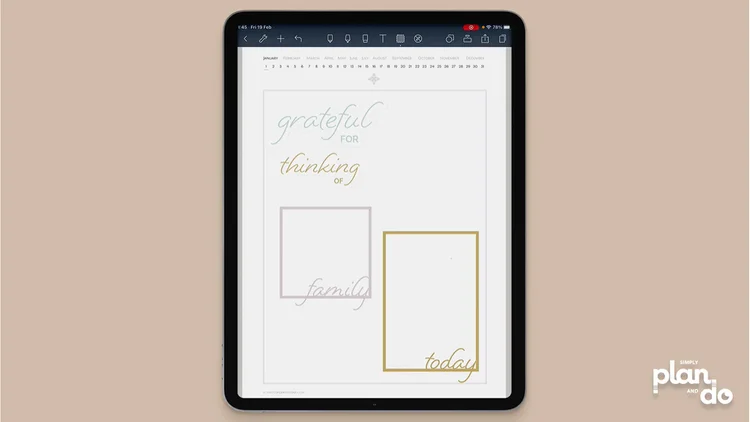
Existing page elements
- When you add a new photo to a page, you’ve probably already got elements in place. This is when being able to layer items becomes important.
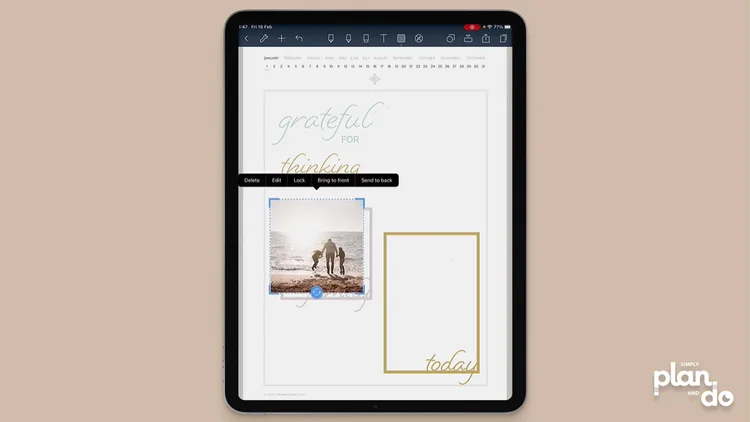
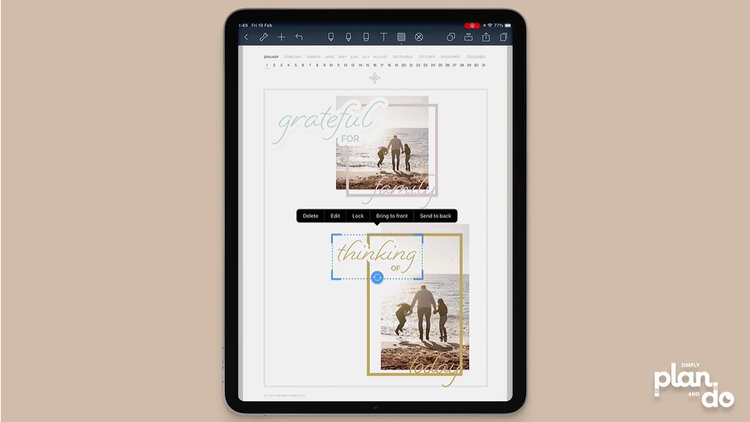
- In the example below, you can see there are already two frames and two word stickers on the journal page.
- These will be on four layers - you can’t tell which is which unless you move them on top of each other.
Adding a Photo to a Page
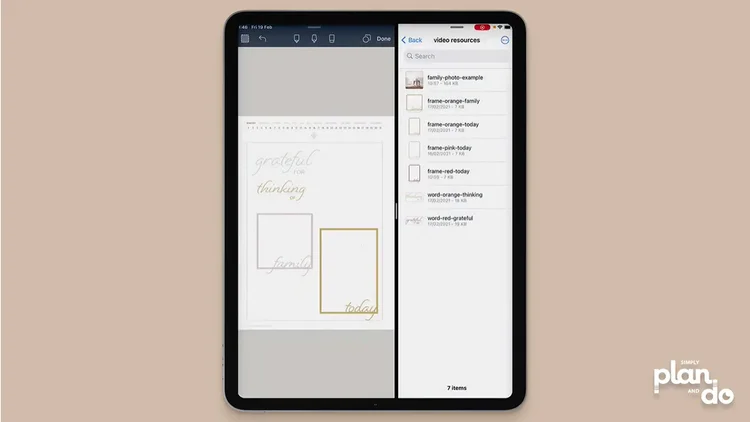
- Using split screen, open your camera roll or cloud file containing the image you want to use.
- Drag the photo across and drop it on the journal page.
Send the Photo behind the Stickers
- You will see that the photo creates a new top layer. If you move it around, it will float over the top of everything else.
- When you drag your photo in, you will automatically see the menu bar appear. Click Send to back to put the photo behind the stickers and frames.
- If you accidentally deselect the photo before you do this, tap & hold the photo and the menu will pop back up.
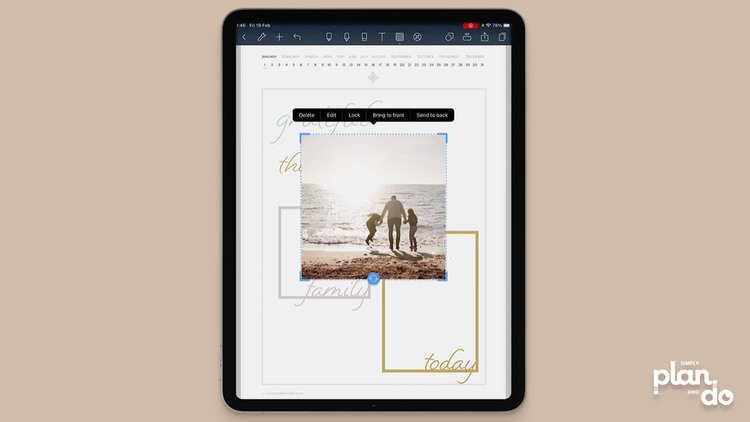
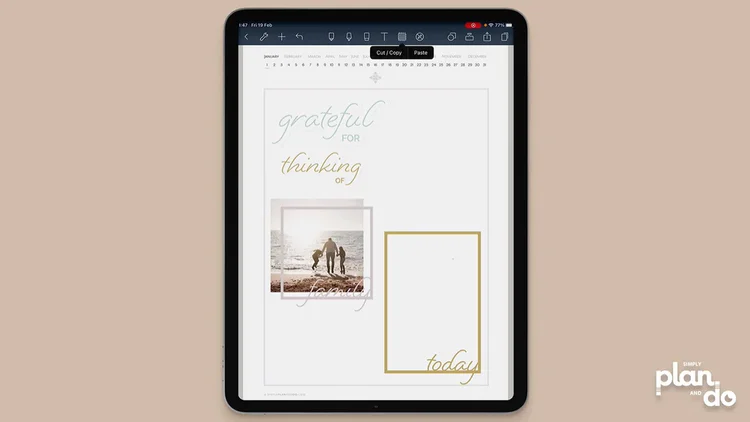
- You can now see that the photo is sitting behind the frames, so we’re ready to resize and reposition it.
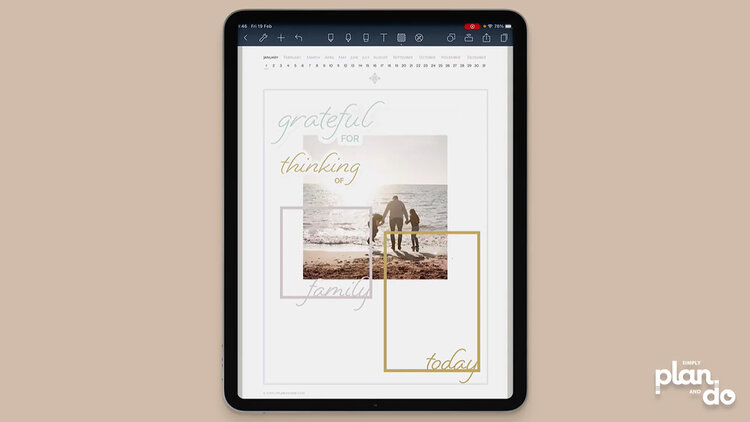
- Tap & hold the photo to access the menu.
- Resize using the corner grab handles, until it is the right size for the frame you are using.
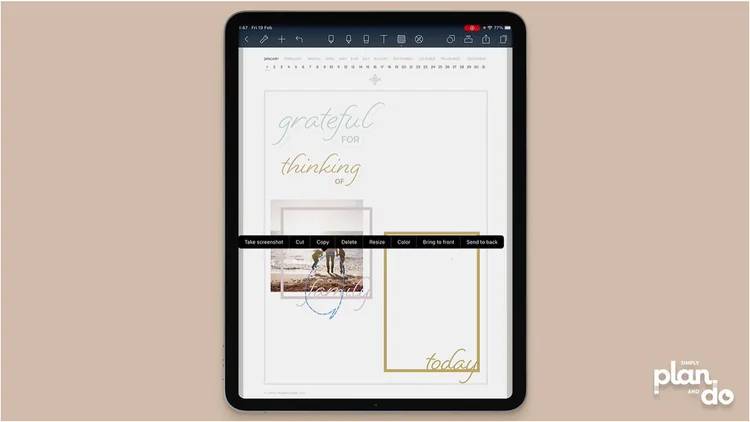
- You will notice when you do this the photo annoyingly appears to jump back to the top layer. Don’t worry! It is only temporary. As soon as you deselect, it will go back behind the frame.
- Tap outside the photo to deselect and the image now appears behind the frame again.
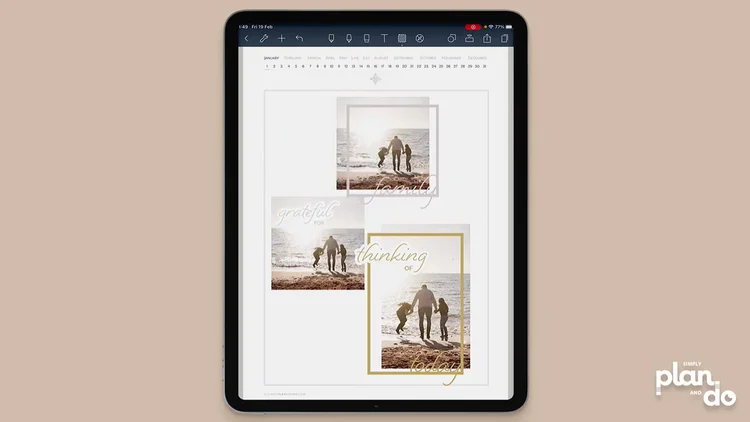
- Once you’ve reordered stickers and photos the way you want them, you can use the Lasso tool to marquee select and move them as a group.
- If you move them and find they cover something else, just Lasso select again and Send to back.
- Both items will go to the back layer, but will retain their own layer order. Brilliant!
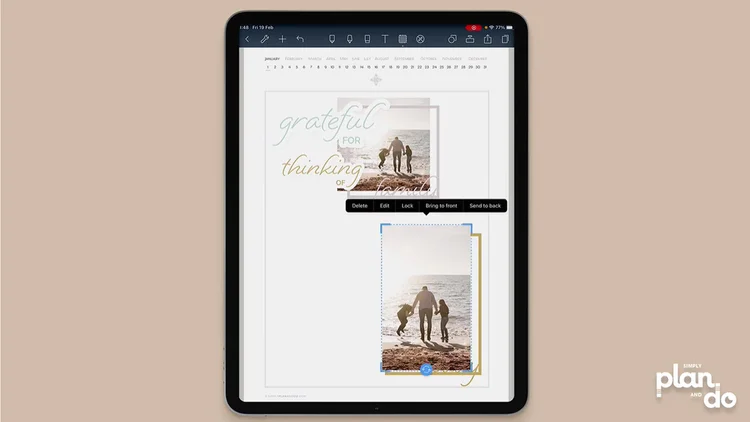
Cropping or Editing a Photo
- If you need to crop your photo to better fit the frame you’ve chosen, it will appear to jump back to the front again - the same as when we resized the first photo - but after cropping and editing, will return to the back.
Adding Layers
- Once you know how to select individual or lasso-select groups of stickers, you can continue to layer other items on top.
- In this example, I’ve added another sticker on top of the frame. Initially, it appeared between the frame and photo.
- To bring the word sticker to the top-most layer, you can either select the sticker and choose Bring to front. Or, you can marquee select the frame plus photo, and choose Send to back.
- Do this a few times, and you’ll be a dab hand at Noteshelf layers!
Layering Groups of Images
- As you continue to add images to a page, you will need to start layering groups of stickers to get the layout you want.
- For example, below you can see the image on the left, which now has a sticker on top of it, is overlapping the frame on the top image. In this case, I would marquee select both the left-hand image and the ‘grateful’ sticker on top of it before sending them to the back.
Layering Stickers & Frames Over Photos
Once you get hang of moving individual items, or multiple items using the lasso tool, you can see how easy it is to get the layers in the order you want.
