

It’s quick and easy to change your digital planner or notebook cover in GoodNotes. This tutorial will walk you through selecting the new cover, adding it to your planner, and then removing the old cover.
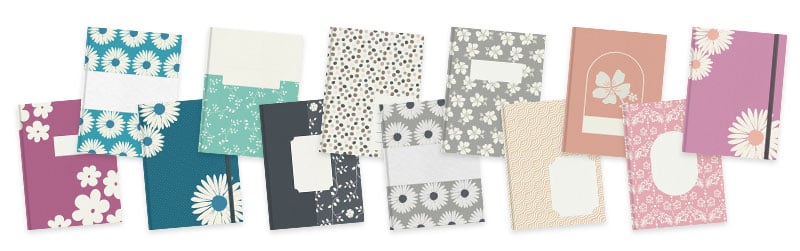
Although it is basically just a decorative front page, when you have multiple planners and notebooks filling up your app, changing the cover is an ideal way to categorise and differentiate your books.
STAY ORGANISED WHILE LOOKING GOOD!
Click here to see latest Digital Covers in the Shop
Change a Cover in GoodNotes - Step-by-Step
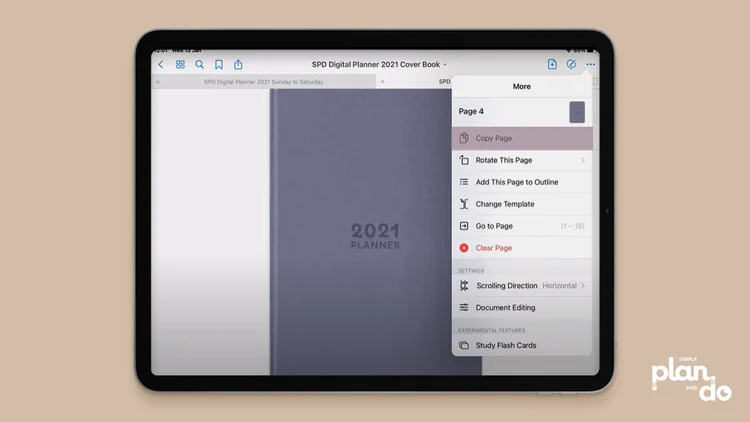
Select Your New Cover
- Open your Cover Book in GoodNotes.
- Tap on the Thumbnail icon, top left, and scroll through to find the cover you want.
- Tap the cover you want and you’ll jump to that page.
- Tap the three dots, top right, and choose Copy Page.
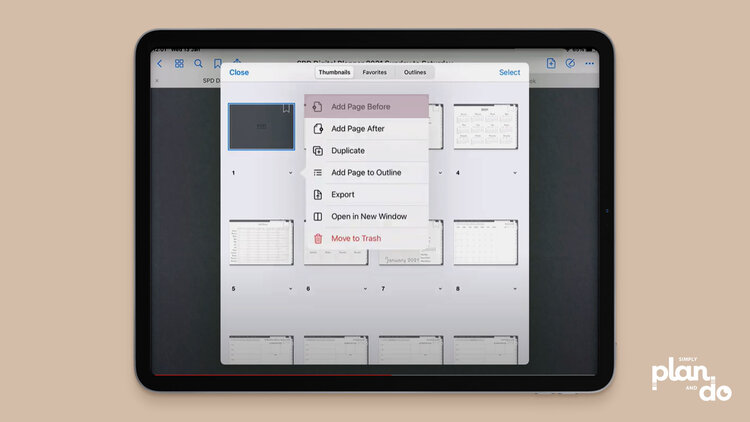
Add New Cover to Planner
- Open your Digital Planner.
- Tap on the Thumbnail icon, top left, and make sure you are at the very beginning, i.e on your current cover.
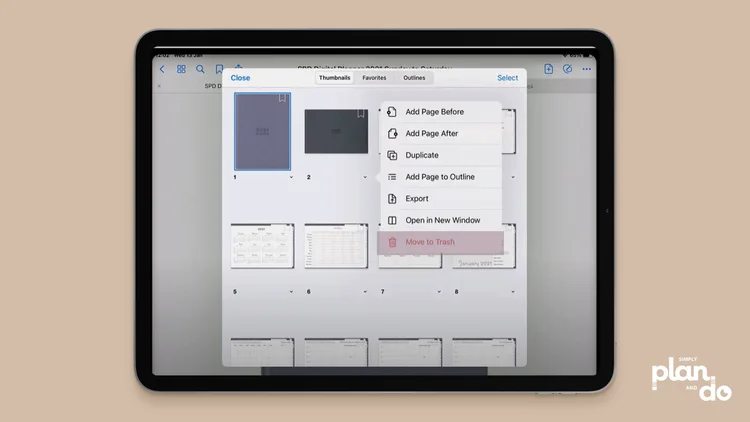
- Tap the caret (v), bottom right under the thumbnail, and select Add Page Before.
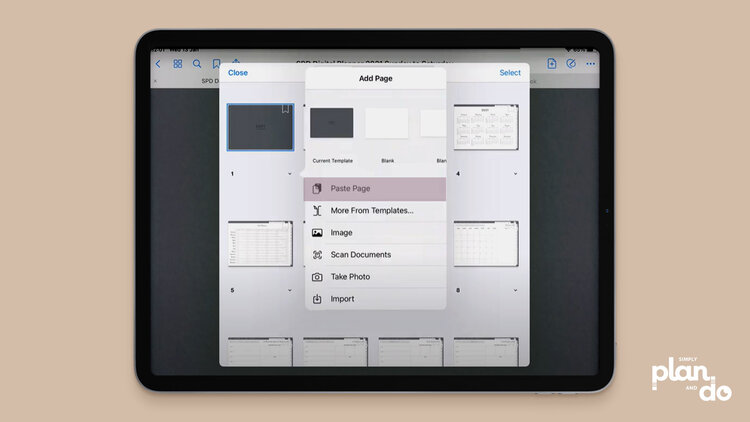
- Tap Paste Page, and your new cover will be pasted in front of the existing one.
Remove Old Cover
- Again, tap the caret (v), bottom right under the thumbnail of the original cover, and select Move to Trash.
- Tap Close, top left, to close the thumbnail view.
- Great, you’ve now replaced the cover.
Changing GoodNotes Planner Covers
As you can see, quick and easy, and a great way to categories your digital planners and books.
