In today’s tutorial, we’ll look at combining page layouts, specifically png overlays, using the crop function in Noteshelf. You can create endless new layouts that are better suited to your needs, and build up your stash of ready-to-use pages for free.
Combining Page Layouts in Noteshelf
I’m sure you’ve come across page layouts that would be perfect if you could just tweak a thing or two. Or, perhaps you never find quite what you’re looking for.
If either of these ring true, this is a great tutorial for you.
How to Combine PNGs
The reason we use the crop tool rather than simply resize is:
- resizing will give us a larger or smaller version, but if we try to disproportionately resize, we just end up with a distorted layout we can’t use;
- if we only want to use a small part of a template, we need to remove everything else and only cropping does this; and
- combining tiny sections of different layouts gives us a new layout, is endlessly customisable, while retaining a small file size.
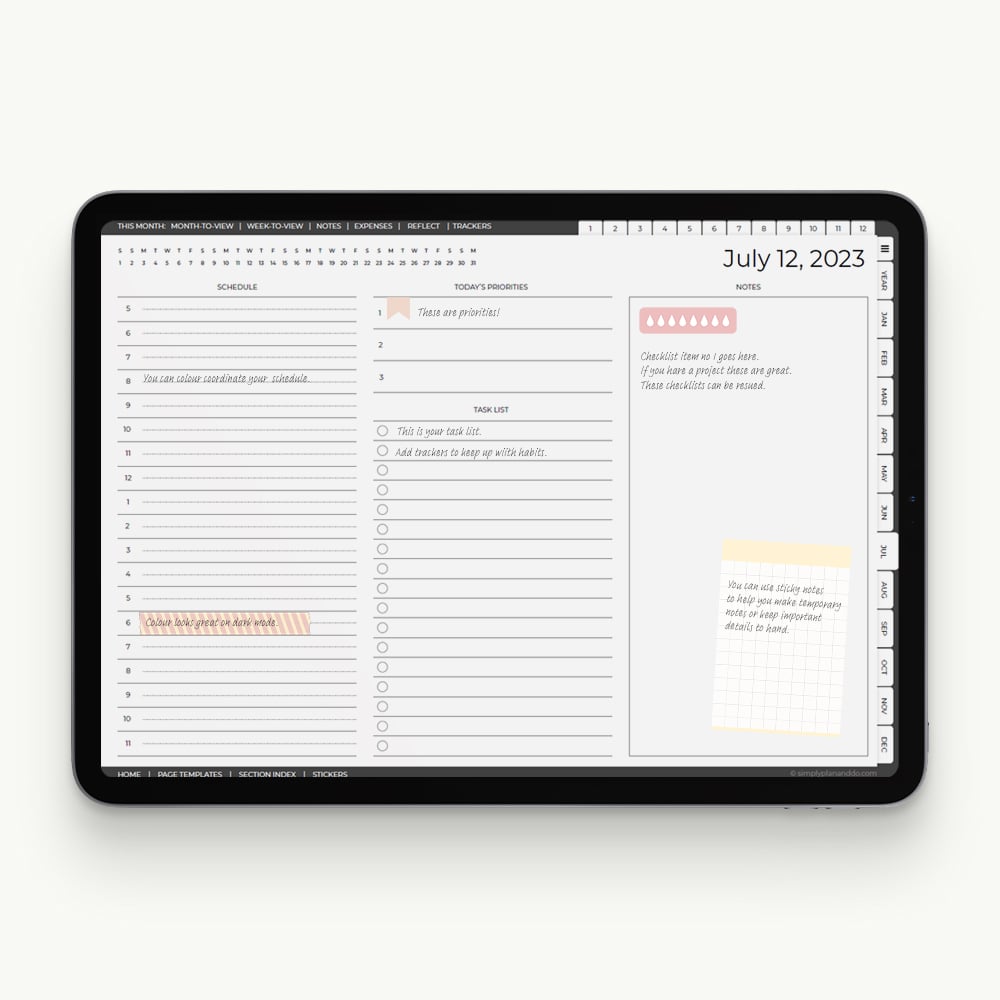
In this example, I only want three boxes on the left. If I try and resize this left to right, I’ll still have 9 boxes but they will be narrower, probably unusable, and look rather strange!
I am adding lines next to each box. So yes, you can make lines narrower without distorting anything. What you can’t do, however, is reduce the number of lines you have.
By cropping, I’m using the best of both overlays to create something new and lightweight and useful.
Making More from What You Have
Not only do you create more bespoke layouts, you do so at no additional cost. Once you realise how quick and easy this is, you will be creating all sorts of weird and wonderful combinations!
Combining Page Overlays in Noteshelf - Step-by-Step
Choose Page Templates
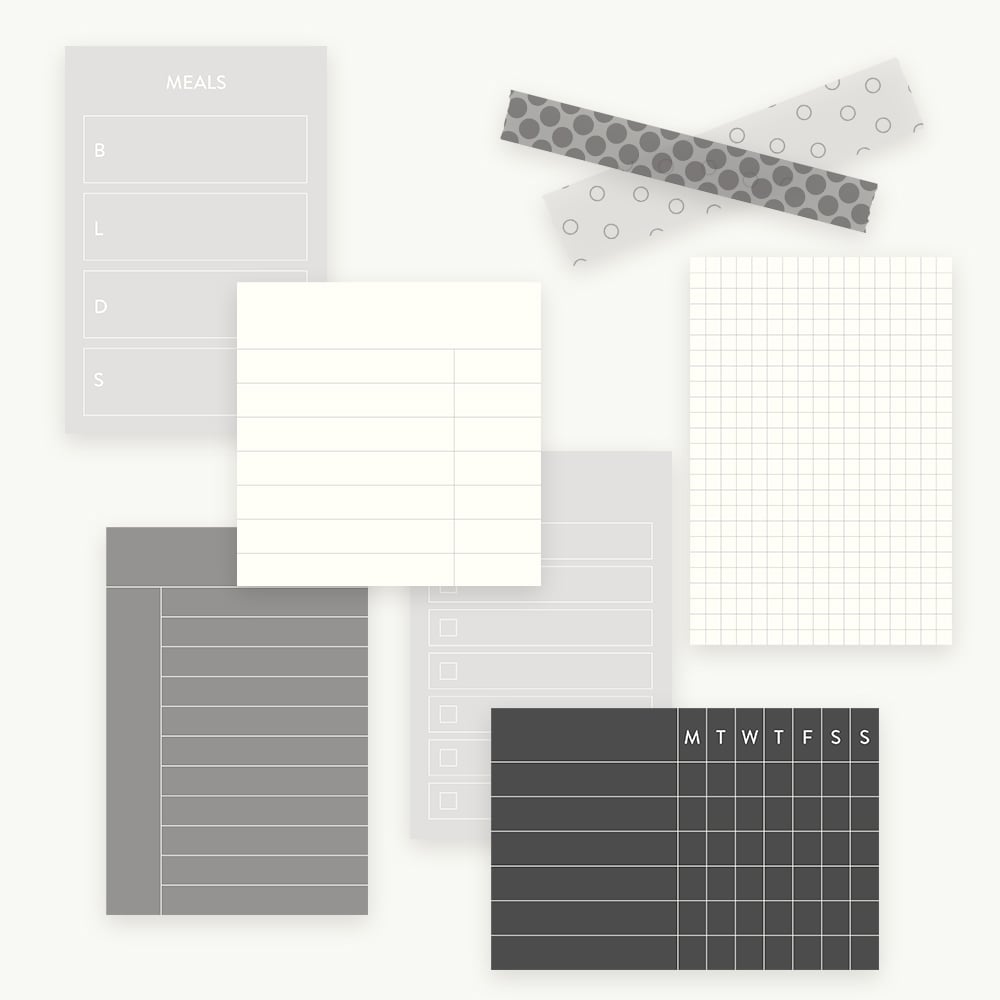
- You will need to choose the page template overlays you’d like to crop and combine.
- For this example, I’m going to create a page with three goal-setting boxes on the left and lines next to each box on the right. I’ll use a full page of boxes and a full page of lines to do this.
- Using split screen, drag and drop your first page overlay.
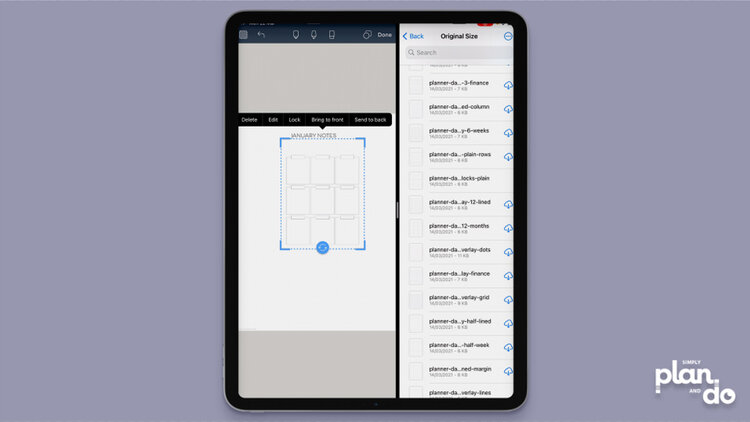
Cropping Options
- When you drag in a png overlay, it will immediately give you the option to Edit.
- If you accidentally tap off the image, or you are cropping an image that is already on a page, just tap once to get the same menu options.
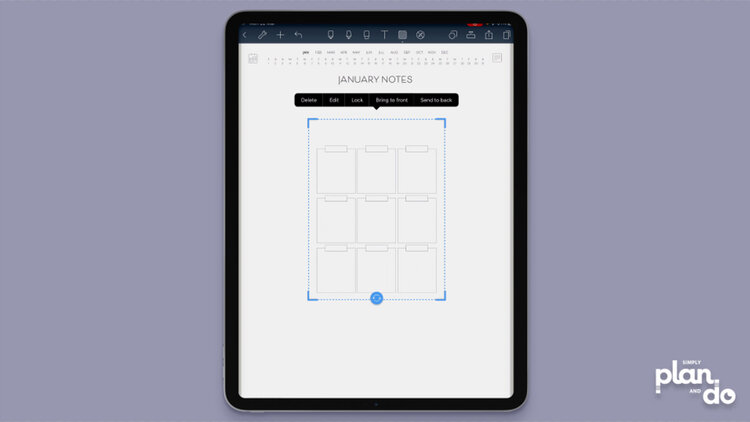
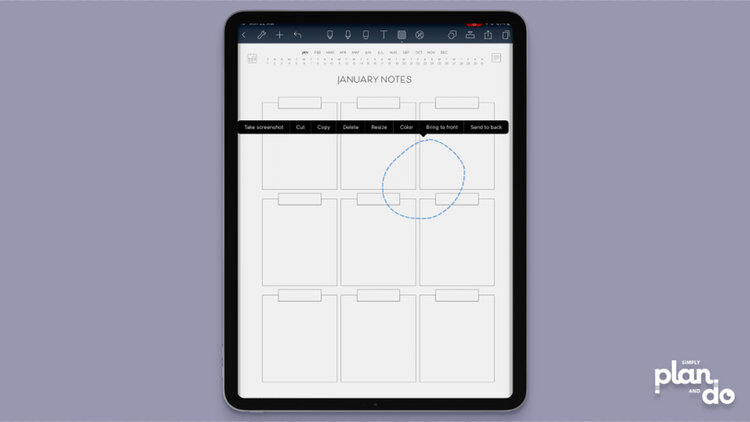
Don’t Use the Lasso Tool
- We need access to the Edit menu to find the cropping options.
- If you use your Lasso tool, you will only be given the option to Resize.
- We don’t want a smaller version of the overlay, we want to remove sections to create something new. To achieve that, we need to Edit and Crop.
Cropping a PNG Page Template
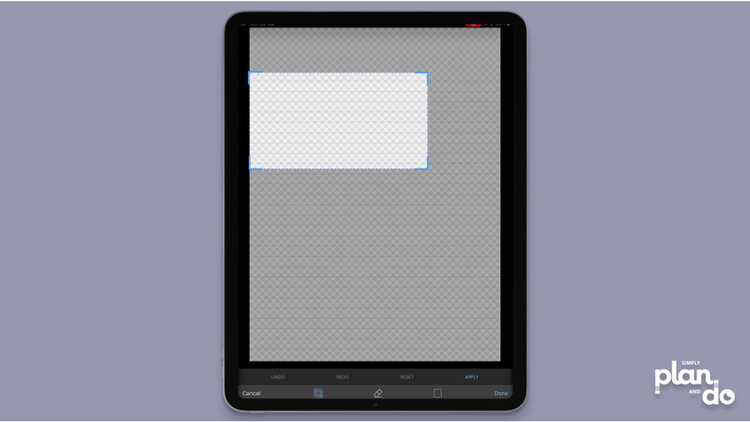
- Tap Edit to access the crop function.
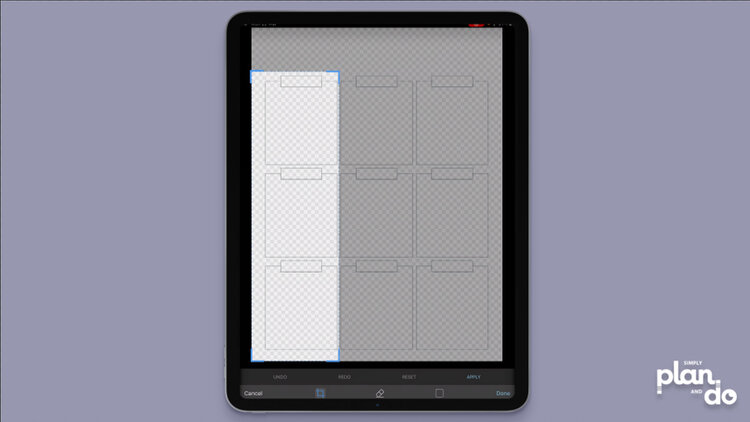
- Select Crop bottom left, and use the grab handles to outline the area you want to keep.
- Areas that will be kept are bright, areas that will be chopped off are shaded.
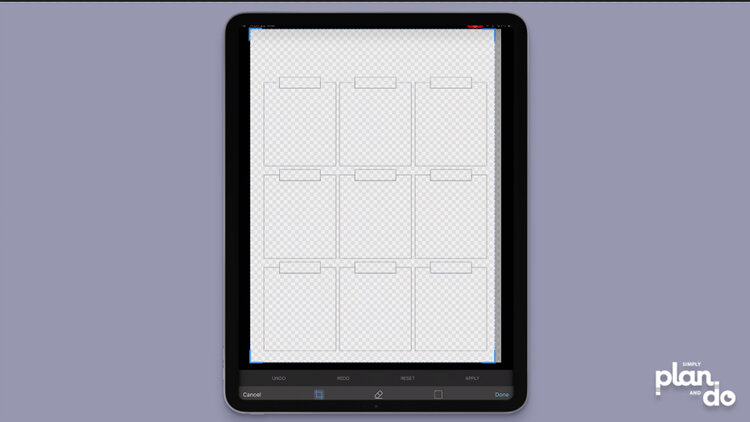
- When you are happy with the selection - here I have three boxes on the left hand side - tap Apply, bottom right to crop off everything else.
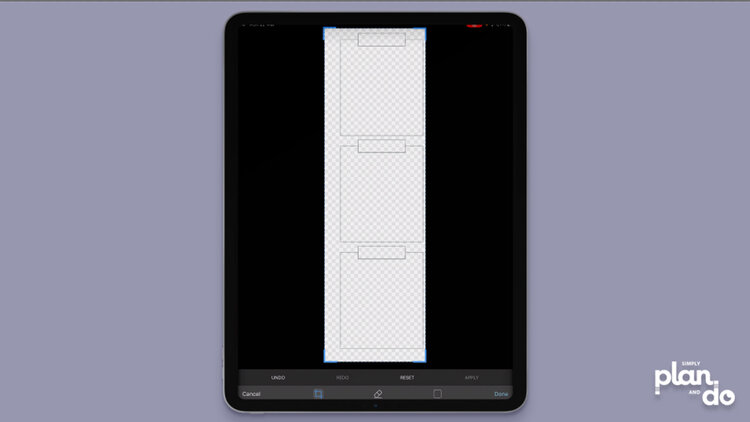
- You can now see what’s left of your original overlay.
- If you need to neaten things up, just move the grab handles again and hit Apply.
- When you are happy with your new image, tap Done bottom left to return to your planner or notebook page.
Resize and Reposition
- You may find your page layout has shrunk. Simply tap to activate the handles and resize/reposition.
- Here, I’m placing my boxes on the left, so I’ll have room to add lines on the right.

Repeat with More Page Layouts
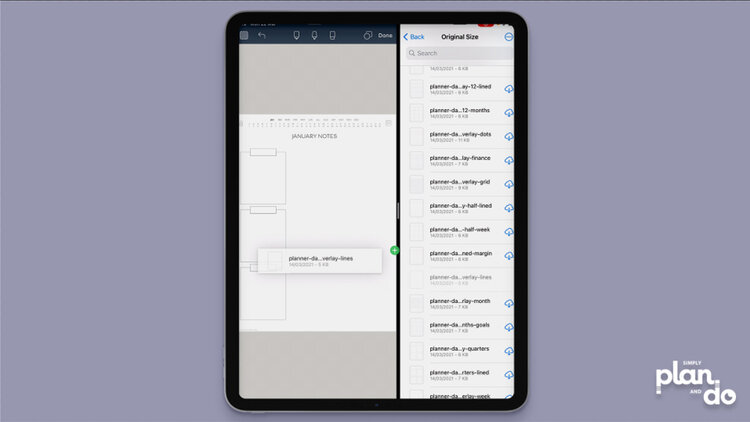
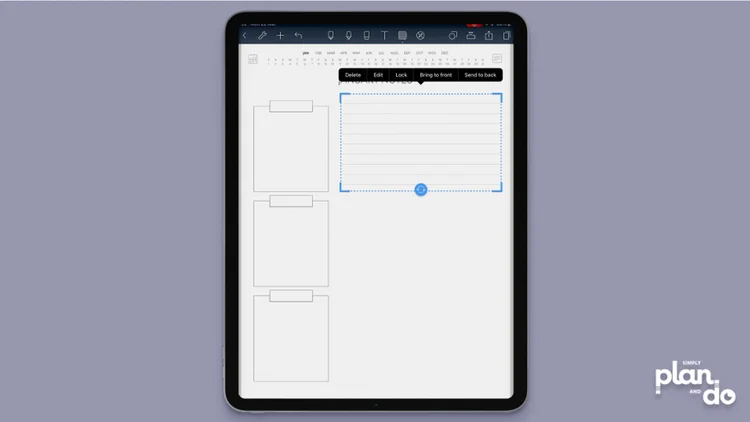
- In this example, I want to add lines on the right. To do this, I’m dragging in a full-page lined overlay.
- Follow the same procedure as we did the first time, tap to go into Edit mode and access the Crop tool.
- In this example, I find it easier to resize first - this gives me the correct scale to match the boxes on the left - and then I can crop, knowing how many lines I need.
- I am cropping the lines top to bottom, based on how many lines I need.
- I am then cropping left to right, as my boxes already take up about a third of the width.
Combining Layouts
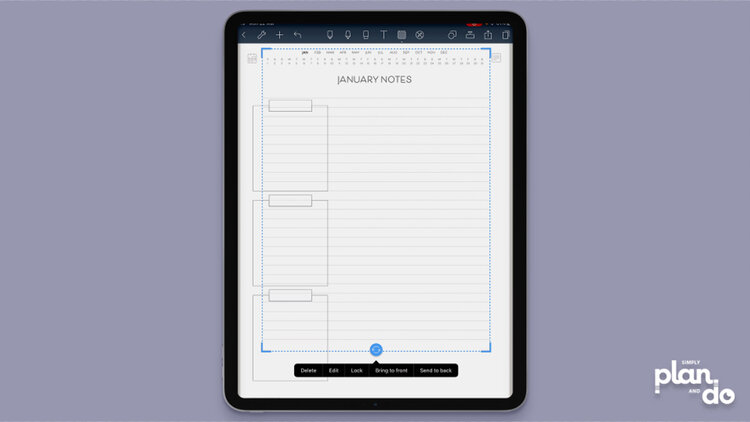
- Once the lines are cropped, I can line them up and scale to fit nicely next to one of the boxes.
- Once the scale is correct, I can Lasso select the lines and choose Copy.
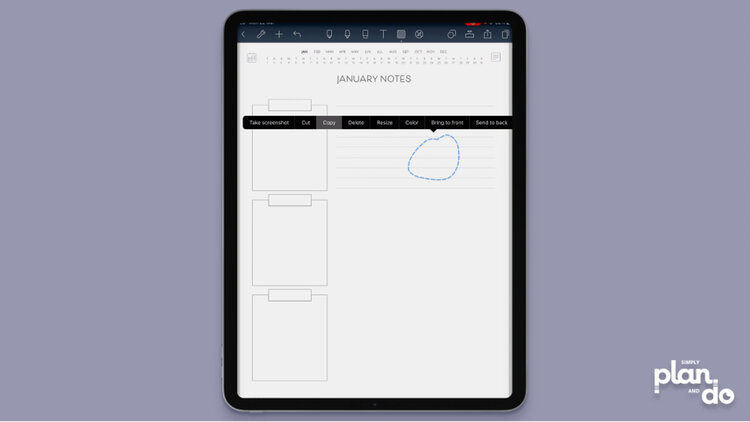
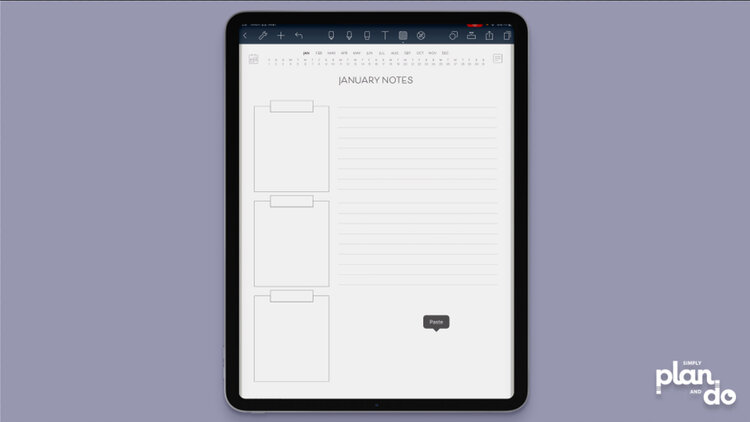
- Tap & hold, and choose Paste to add a block of lines next to each box.
- Once you have your new page layout, you can review it to see if it needs any more changes.
- In this example, I would probably go back and resize the lines so they are slightly smaller, making the gap between each block of lines more defined.
- If you think you will use a new layout regularly, you can copy and paste it into a sticker book or on a blank sheet at the back of your planner or notebook.
- The good thing about PNG overlays like these is, they have a tiny file size. In this example, the full-page versions I dragged in before cropping were just 1KB and 3KB.
How to Combine Page Layouts in Noteshelf
Quick and endlessly flexible, making your own hybrid layouts is so easy. No more squashing your information into a space that just doesn’t work for your needs.
Once you’ve collected a set of core page overlays, think about adding them to a section at the back of your notebook or planner so they are easy to grab.