In this tutorial, we’ll look at how you can create new page layout elements by cropping existing ones. This is a great way to expand your collection and create bespoke pages that meet your needs.
Create New Versions of Your Page Overlays
As a designer of digital stationery, it doesn’t matter how many versions I create of something like a page layout, someone will need something a little different.
When I design a two-column layout, someone will need a one-column. When I combine lines with dots, someone will need lines with a grid! And, that’s fine and perfectly understandable. One size doesn’t, and shouldn’t, fit all.
My aim is to create planners and accessories that are not only fast and light, but flexible. That’s where cropping comes in.
Resizing PNG Page Overlays
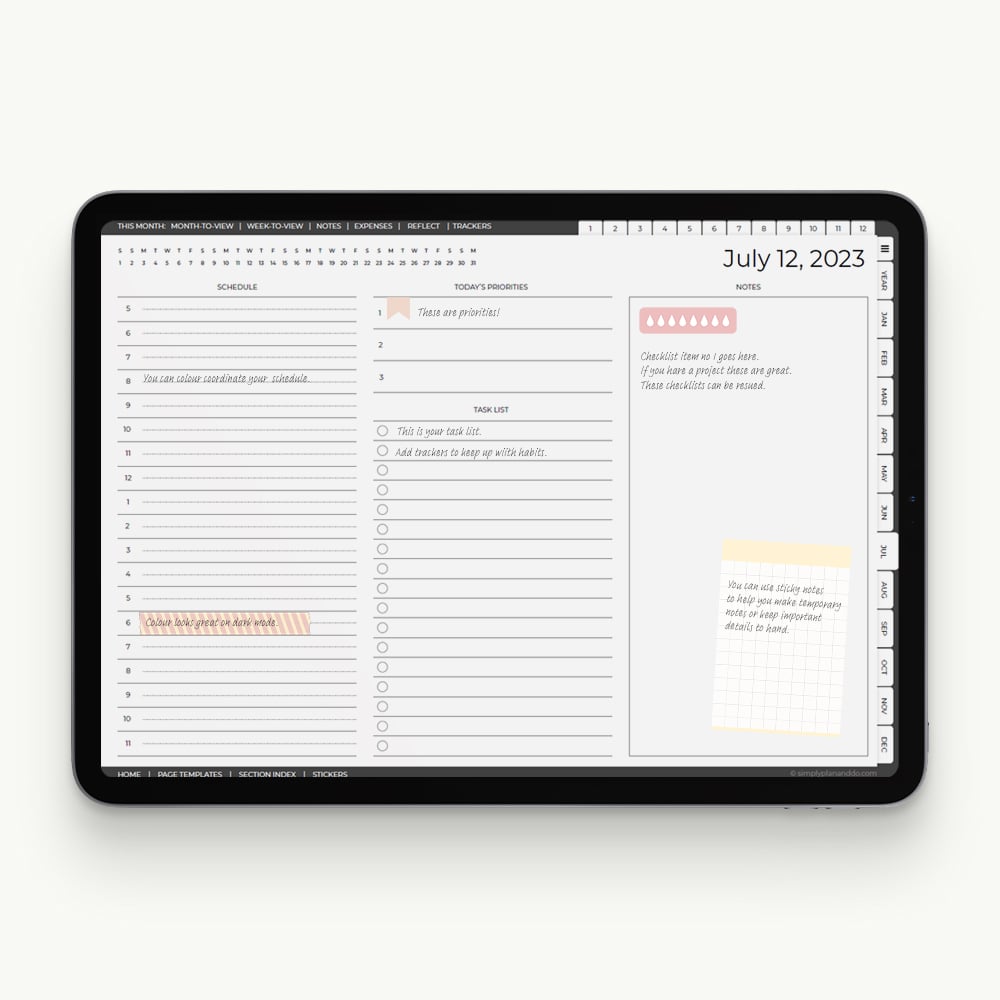
Resizing page overlays is easy. By page overlays, I mean PNG files that are not digital stickers but are used for page structure: columns, lines, dots, tables, trackers, etc.
To resize, you go into Edit mode and resize proportionally from any corner.
But, what if you need a specific section of a template and not a smaller or larger version of the whole thing?
If you try to resize just left-to-right or top-to-bottom everything, of course, gets horribly distorted.
Cropping instead of Resizing
If you are looking to chop up page templates into specific pieces, then you will want to crop, i.e. chop off anything you don’t need so you create a new variant.
Cropping in a GoodNotes Sticker Book
One thing to remember before you start chopping things up is to duplicate your original first. Chances are, you would like to keep the original version and simply want to make new versions.
I’m making two new variants of a full-page layout: a single-column and a single-row of boxes. I could easily do more, for example: an individual box, or two boxes that fit nicely into my planner notes area. Some page layouts will offer more flexibility than others.
What I don’t want to do is lose the original full-page layout.
To do this, I just duplicate the page as many times as I need variations. I can then crop new versions on their own pages, keeping the original safe and intact.
Cropping Individual PNG Files
If you are working with individual PNG files, you can simply drag these on to a page and crop to the size you want as you use them.
If you create a new version you find useful and would like to use again, copy and save it into a favourites sticker book so it is easy to grab, ready cropped.
Cropping Page Overlays - Step-by-Step
The Original Page Template
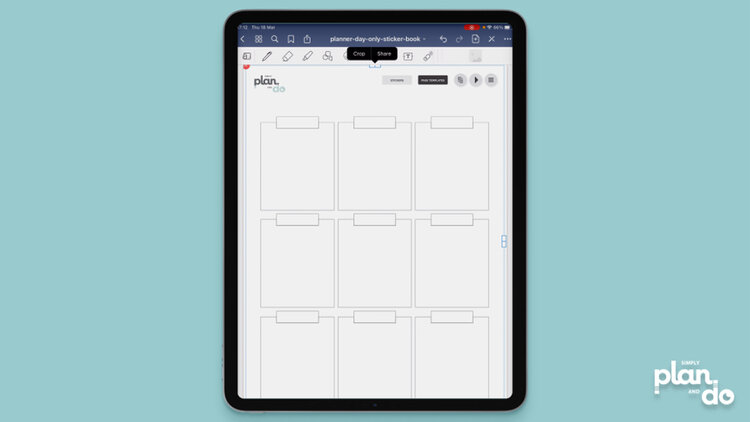
- First, find the original page template (png file) you want to chop into pieces.
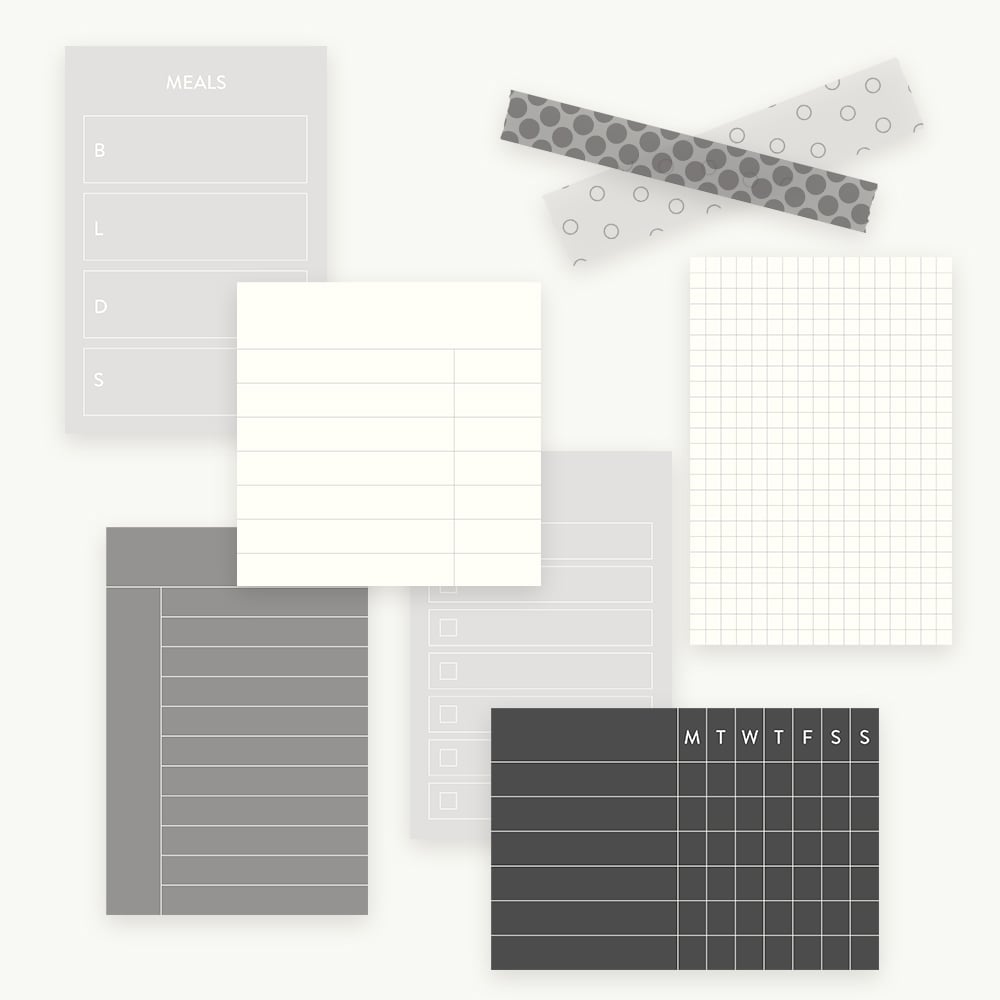
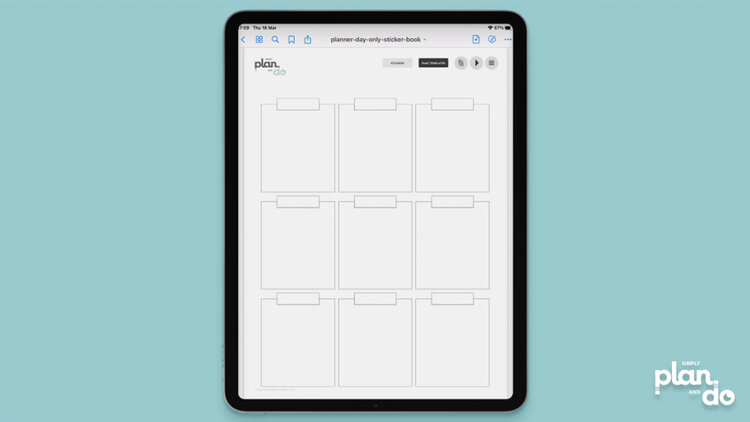
- Here, I’m using a full-page overlay of 9 boxes with titles. I want to create two new versions - one with a column of three and one with a row of three.
- I’m using a GoodNotes sticker book which includes page overlays in PNG format.
Duplicate the Page
- We want to make sure we save the original full-page version. The easiest way to do this when you’re working in a sticker book, is to duplicate the page.
- You will need to duplicate the page as many times as you need new versions of the original.
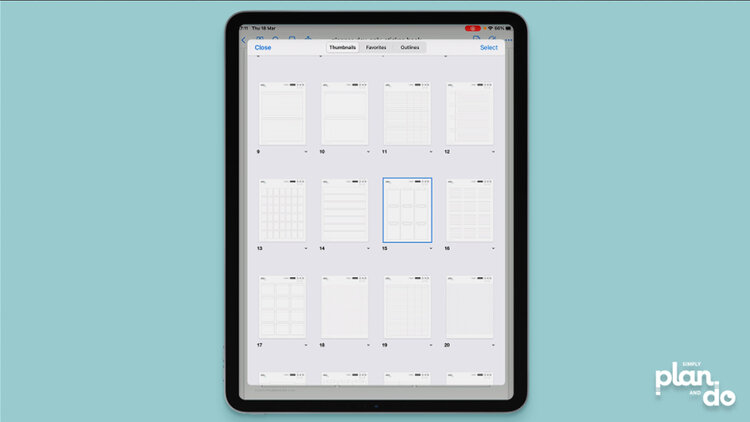
- Tap the Thumnail icon, top left. The page you are on will have a blue box around it.
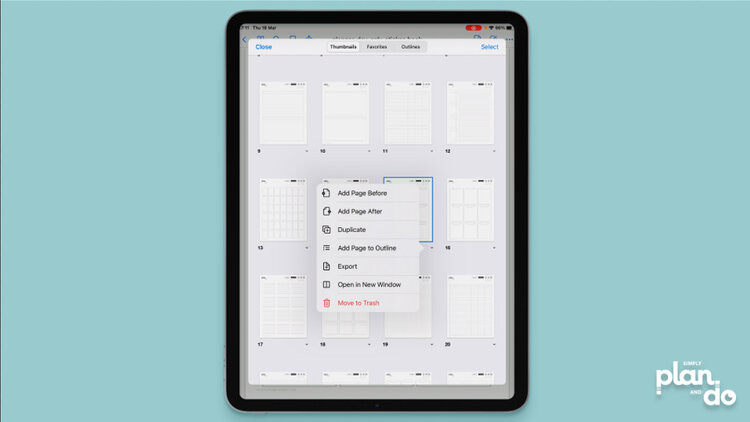
- Tap the Caret icon below the page and choose Duplicate.
- Repeat this until you have enough copies of the page.
- Tap the page outlined in blue to go back to the original page template.
- For example, I want to make single-column and single-row versions of my overlay, so duplicate the page twice.
Cropping a PNG
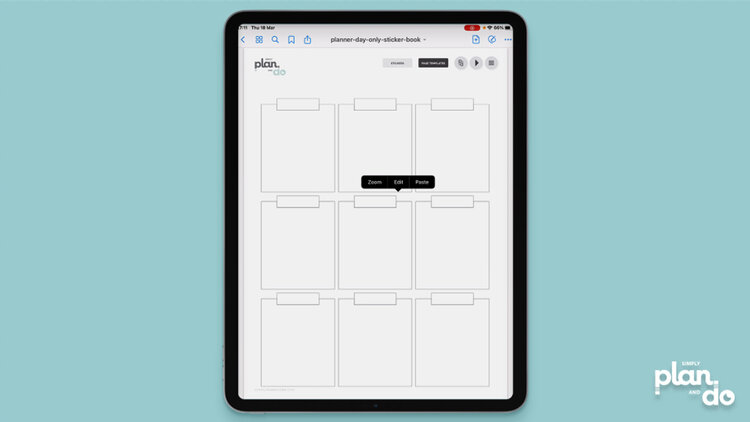
- You are now back on the original PNG page template. Swipe to the next page to view the first duplicate.
- Tap & hold and choose Edit.
- In Edit mode, tap once to get the Crop/Share option (top-centre of the PNG overlay).
- Select Crop.
Rectangle Crop Tool
- You should now see an outline of your PNG overlay, surrounded by a box with grab handles on the side and in the corners.
- If you can’t see this, make sure you have Rectangle Crop Tool selected at the bottom of the preview window.
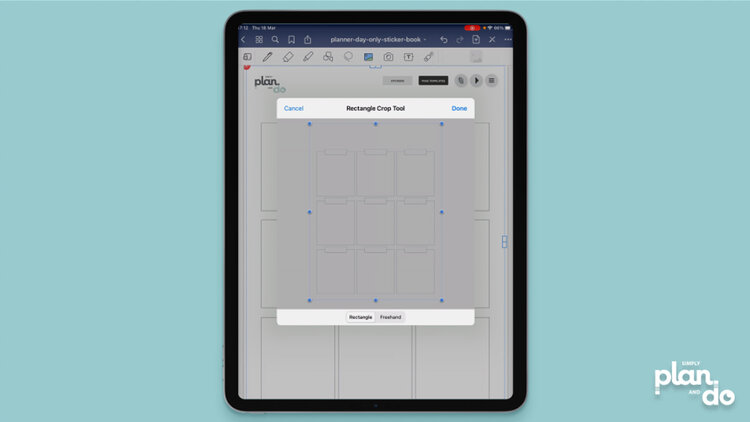
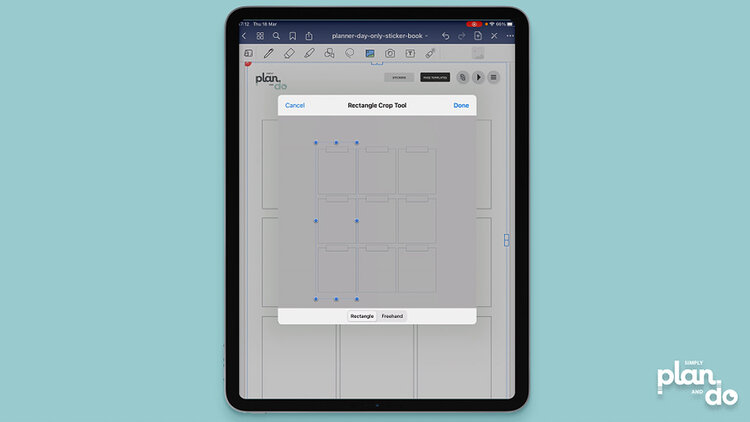
- Drag the blue circles in, so they outline only the area you want to keep.
- When you are happy with your selection, tap Done.
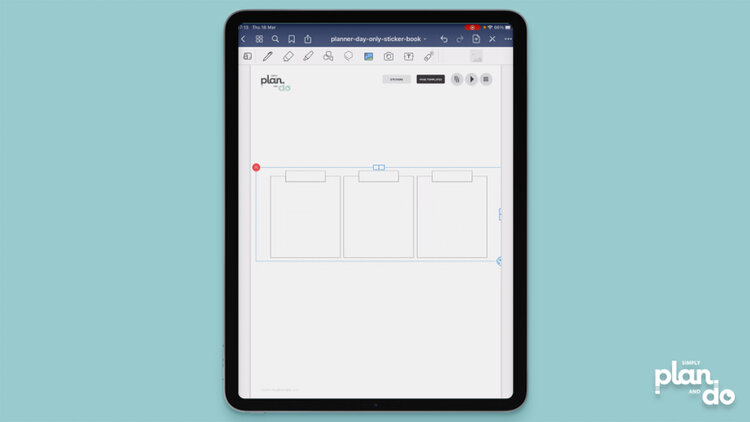
Saving a New Version
- You will now see your new page template. It may need to be resized. In this example, I removed the top section, so the PNG is taller.
- Tap off the template to deselect.
- If you are working in a GoodNotes Sticker Book, this page is now saved and ready for next time.
- If you are working with an individual PNG file you dragged on to the page, I would recommend copy-and-pasting it into a favourites book for quick and easy future use.

Creating Multiple Variations
- In the video, I create a single-column and single-row version.
- If you create smaller chunks of the original, you may find you can copy these all on to one page of your sticker book.
Cropping Page Overlays to Create New Versions
So quick and easy, and a great way to use the page overlays you have in a way that works for you.
It’s also a free way to expand your collection, and gives you more flexibility in terms of page layouts.
The more your planners and notebooks are bespoke to you, the more you will use them and the more effective they will be.